A Complete Guide to Install CapCut Pro (PC) and Disable Auto-Updates enabling to use all CapCut Pro features for free.

Step 1: Uninstall the Existing CapCut Version
Before installing the preferred version, it’s important to remove any existing installations to avoid conflicts completely:
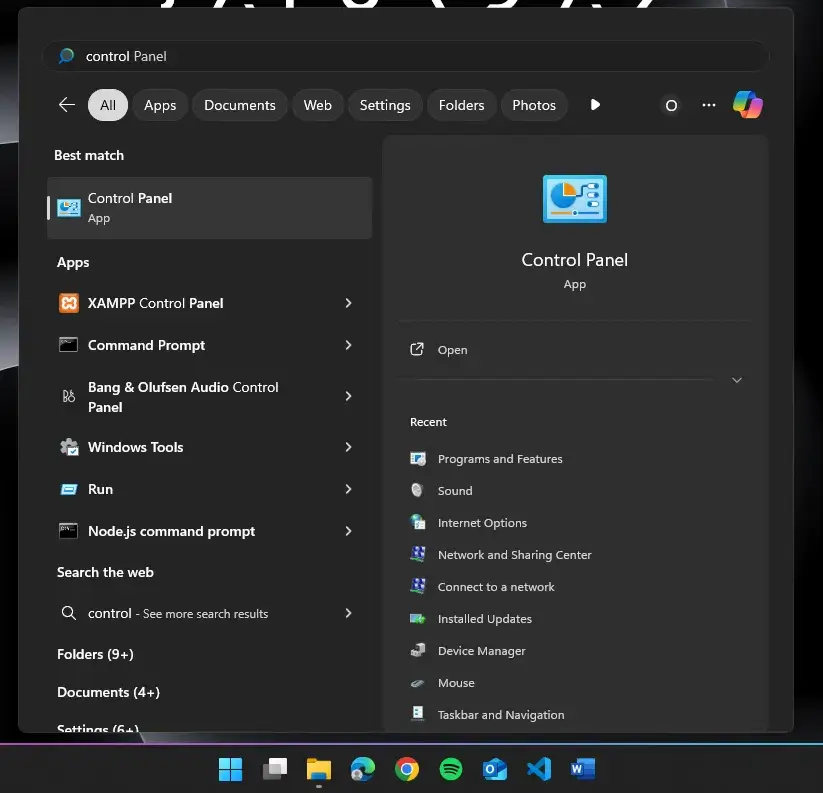
1. Open your Control Panel via Windows start menu.
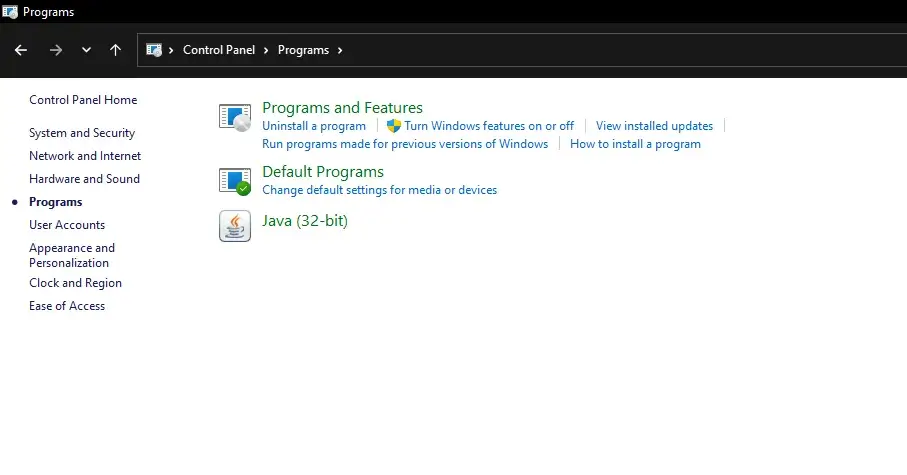
2. Navigate to Programs and Features.
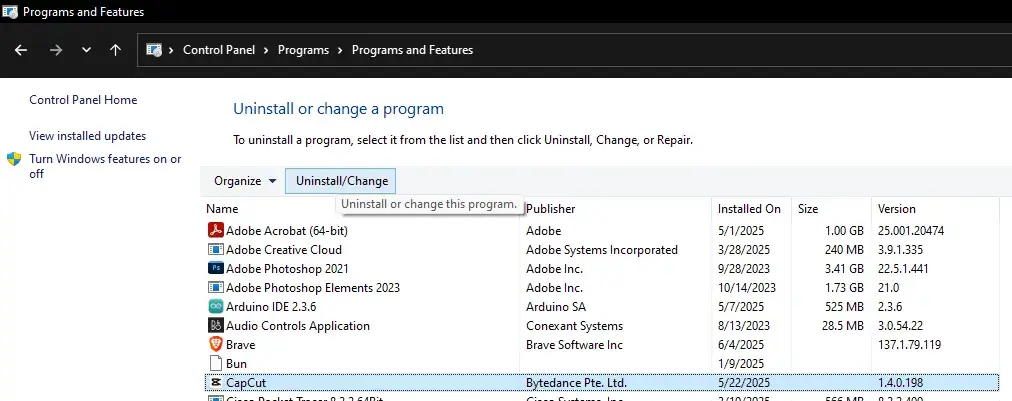
3. Find CapCut in the list of installed applications.
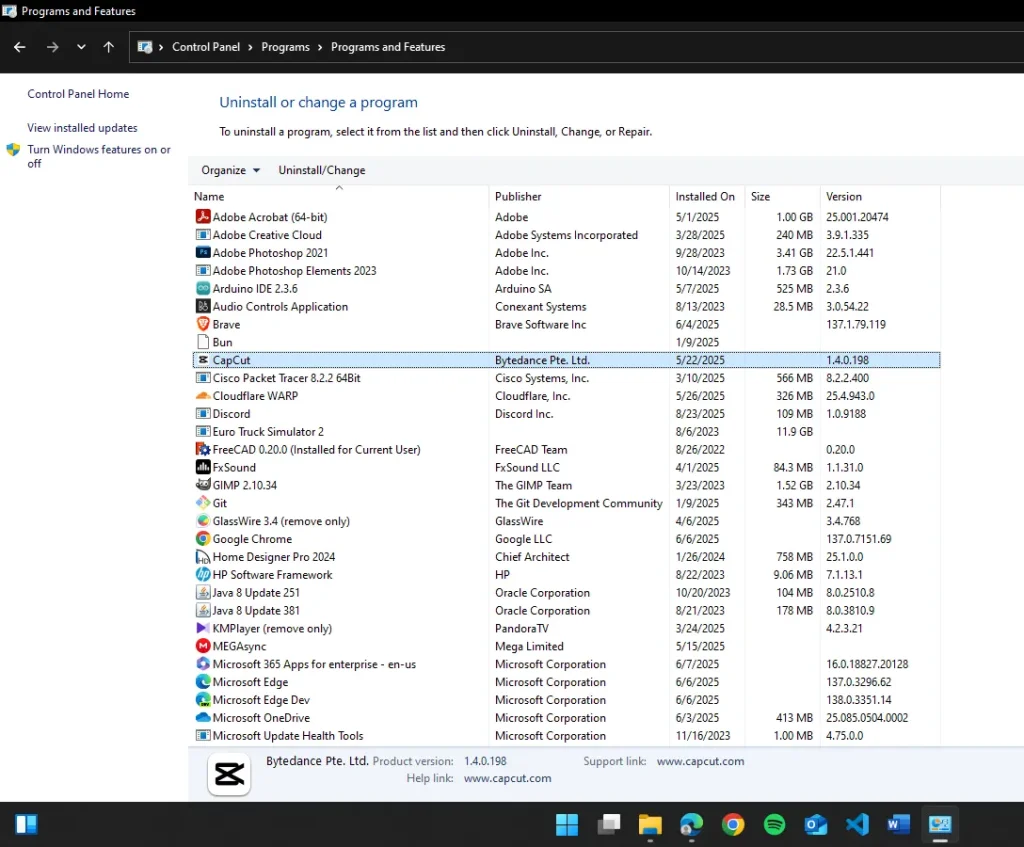
4. Click Uninstall.
In the prompt that appears, check the box to delete CapCut data.
Make sure to delete/forget user preferences and User Data if asked(when doing so your personal data and saved templates will be removed. Make sure to backup your personal projects/data before Uninstalling)
Confirm and complete the uninstallation.
Step 2: Install the Targeted CapCut Version
After uninstalling, follow these steps to install the specific CapCut version that includes Pro features:
Download the desired CapCut version from a trusted source or the provided link.
Click here to download CapCut.
1. Open the downloaded file and Right-click, then select "Run as administrator".
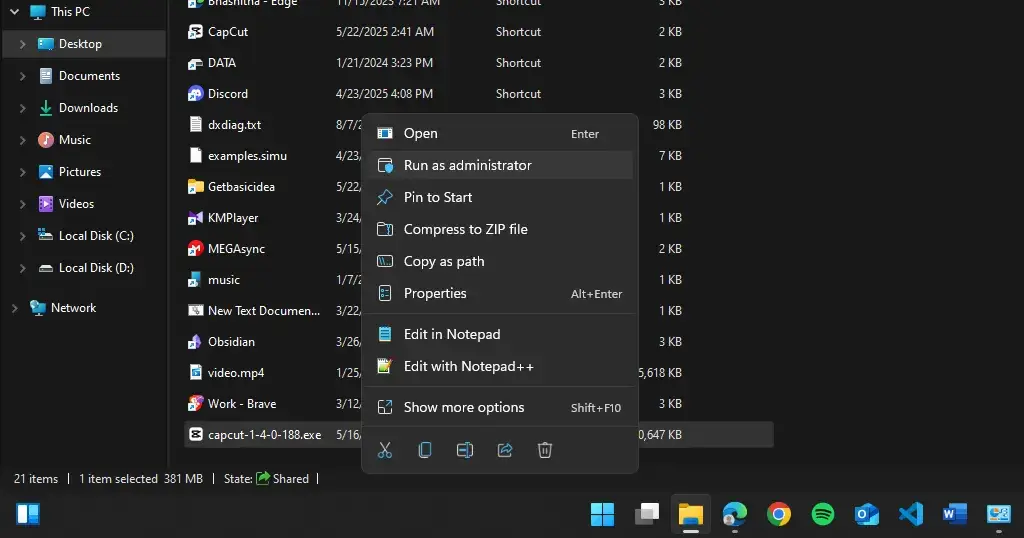
2. Accept the User Agreement.
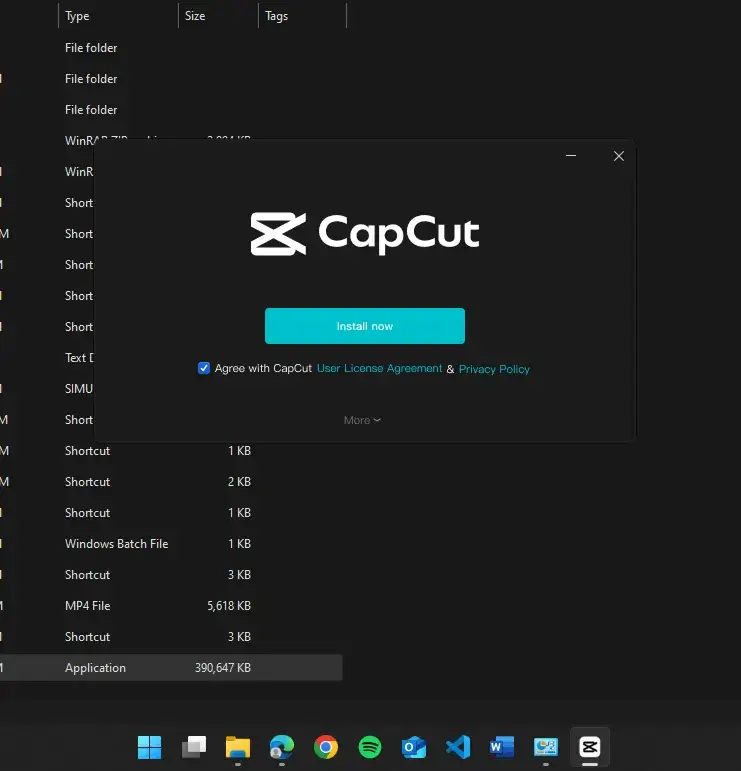
3. Click Install.
Do not skip or rush through this installation. The process includes key configurations that help disable future updates.
Step 3: Disable Auto-Updates Immediately
Once CapCut is installed:
- Launch CapCut to ensure it opens correctly.
- Confirm that:
- All effects load properly.
- All Pro features are accessible.
- Immediately close CapCut to prevent it from auto-updating in the background.
Step 4: Access Hidden System Folders
To begin disabling updates at the file system level:
- Open File Explorer and go to C:\Users\[YourUsername].
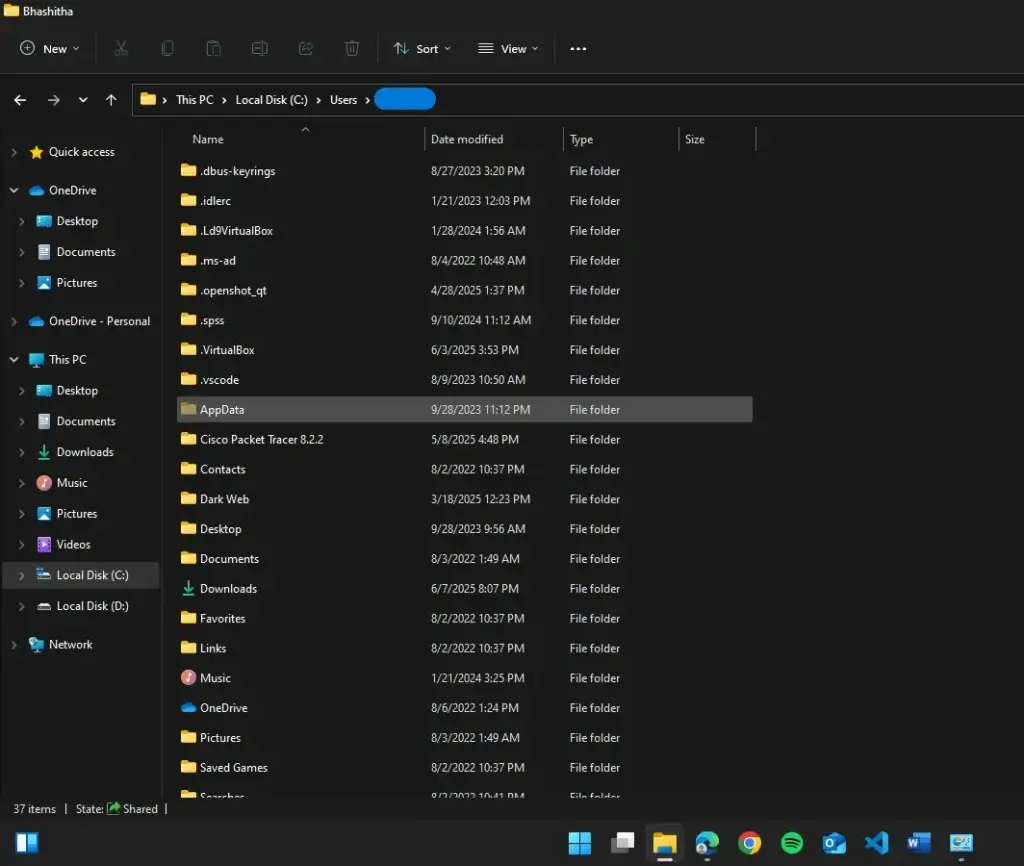
If you do not see the AppData folder: Click the View tab at the top.
Check Hidden items to make hidden folders visible and accessible.
2. Navigate to:
AppData > Local > CapCut > User Data > Download

Step 5: Create a Fake Update File
To block CapCut’s auto-updater, we’ll trick the program by creating a file it can’t overwrite:
1. Right-click inside the Download folder and choose New > Text Document.
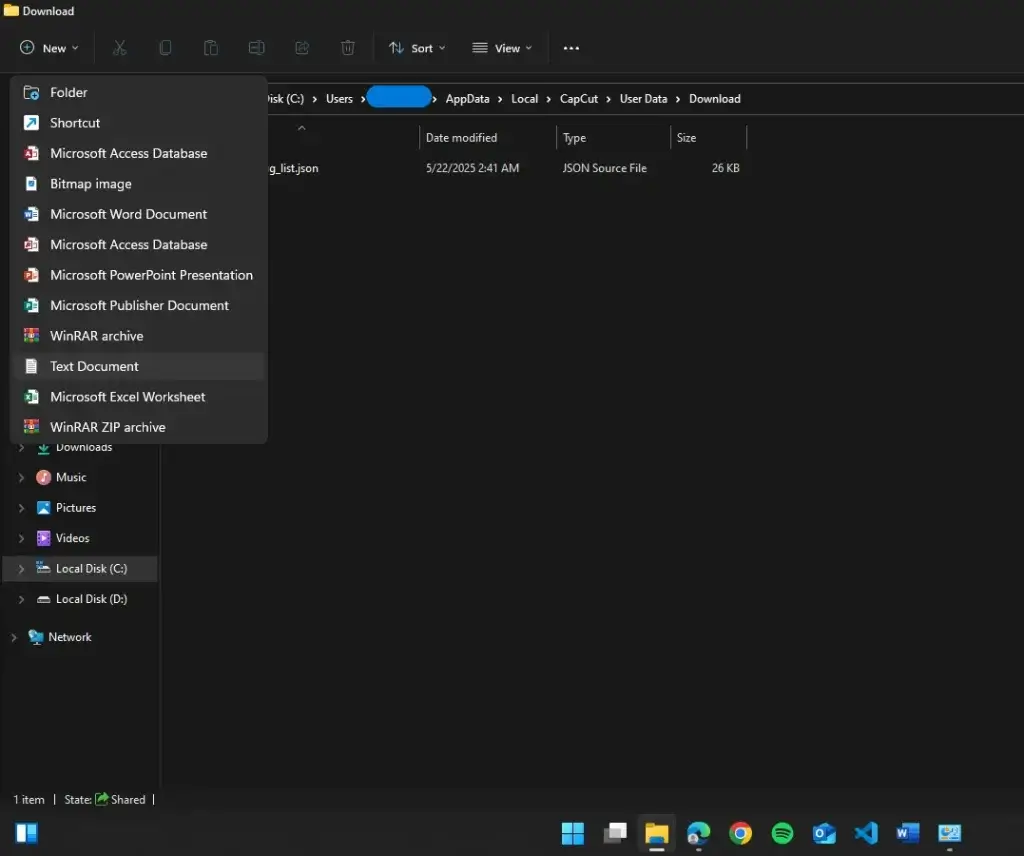
2. Rename the file to update.exe.
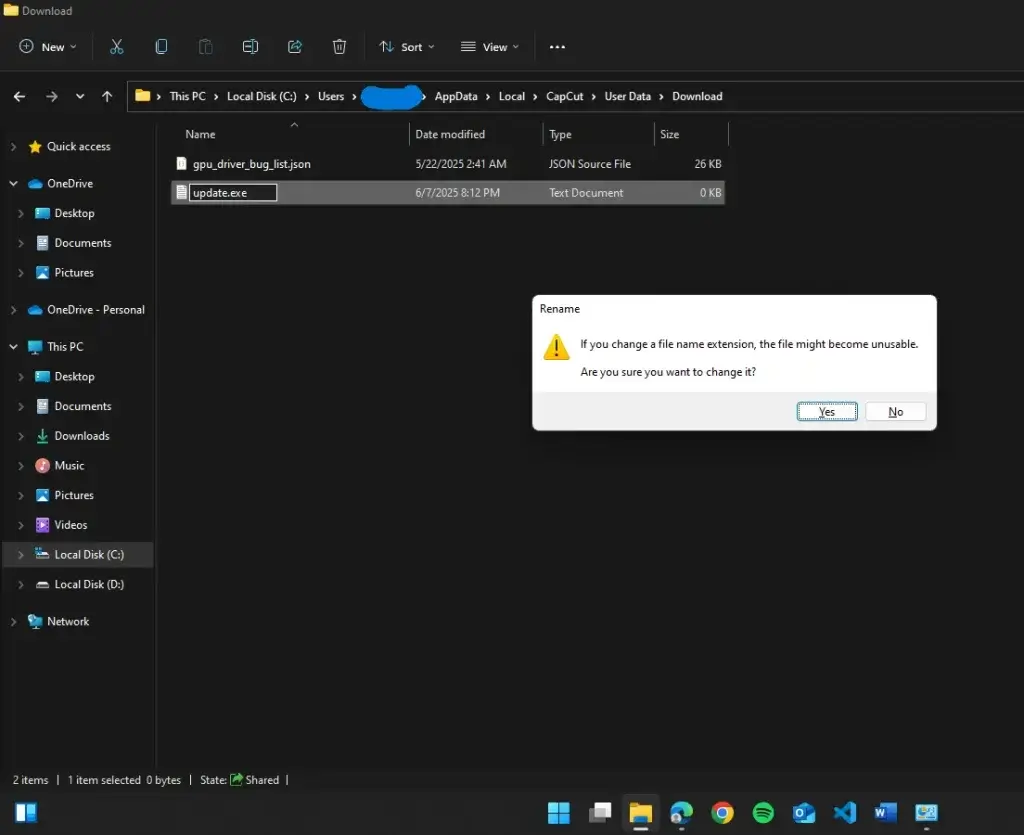
Important: If file extensions are hidden:
- Go to the View tab.
- Enable File name extensions.
- Confirm the name change when prompted.
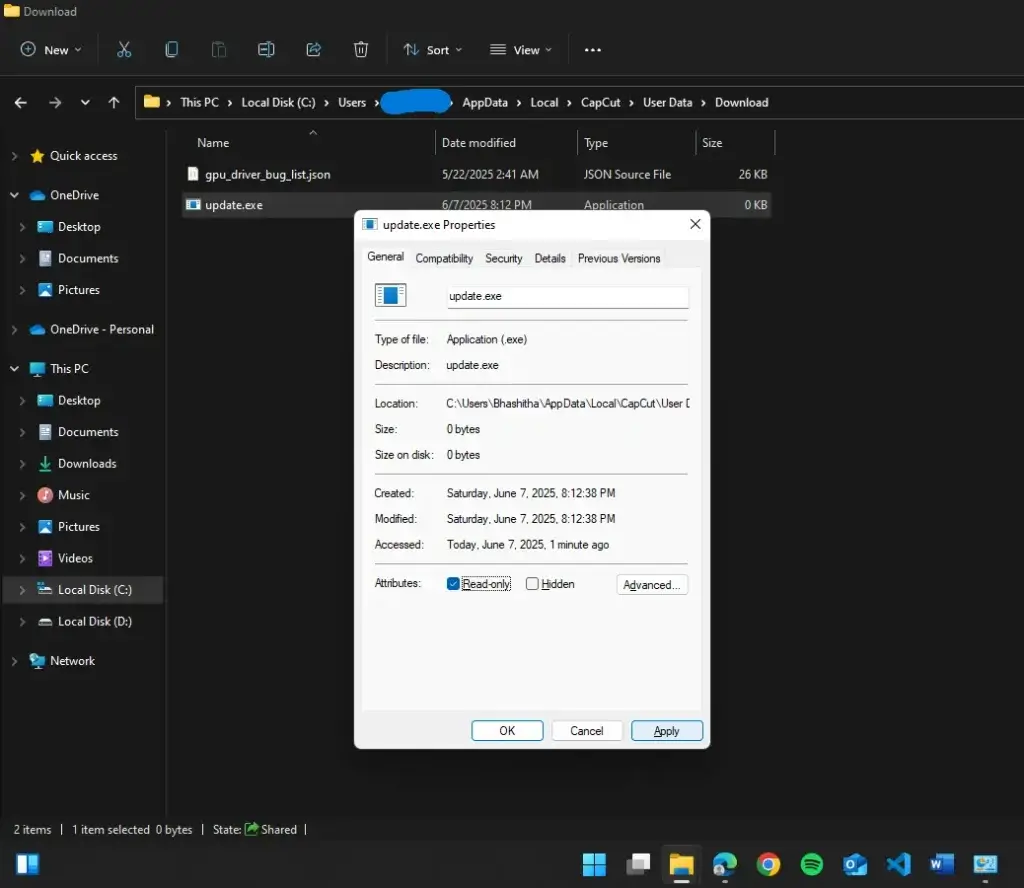
Step 6: Make the File Read-Only
1. Right-click the new "update.exe" file and select Properties.
2. Check the Read-only box at the bottom.
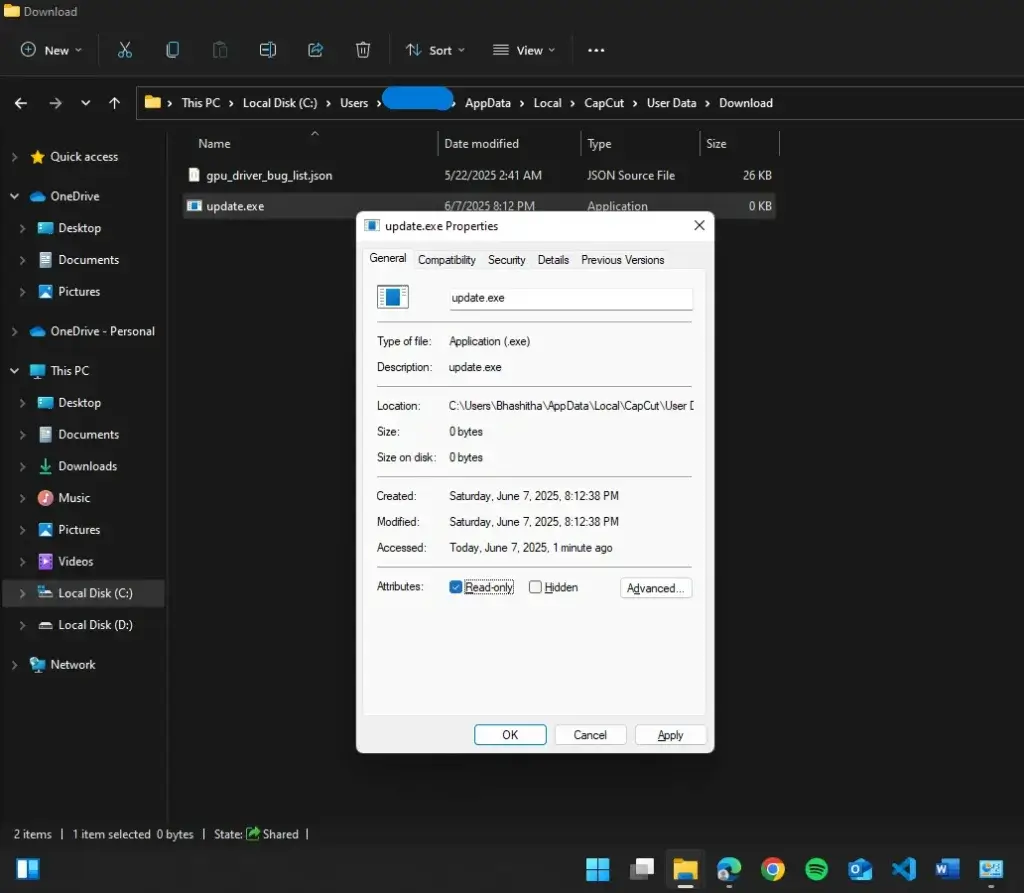
3. Click Apply, then OK.
This action prevents CapCut from overwriting or executing the update file.
Optional: Repeat in the Apps Directory
If the auto-updates continue:
- Navigate to the Apps folder inside Local > CapCut or another related directory.
- Repeat the steps:
- Create a file named update.exe.
- Set it as Read-only.
This adds another layer of protection.
Step 7: Relaunch and Test CapCut
- Open CapCut again.
- Start a new project.
- Open the Effects tab and verify that all Pro features remain active.
Step 8: Export Without Watermark
Complete your project and export the video as usual.
Success: Your video will be exported without any watermark, confirming that the Pro features are functioning properly and updates are blocked.
Final Thoughts
CapCut is a widely popular video editing software offering a broad set of creative tools. While its free version is impressive, many users seek access to CapCut Pro features such as watermark-free exports and premium effects without paying or dealing with disruptive auto-updates. This guide walks you through how to install a specific version of CapCut and permanently disable its auto-update function.
This method enables users to maintain uninterrupted access to CapCut Pro’s premium tools, without interruptions from updates that could restrict features or reintroduce watermarks. However, always ensure that your use of software complies with local laws and terms of service.
Disclaimer: This guide is for educational purposes only. Using modified software versions may violate CapCut's terms and could pose security risks. Proceed responsibly.

Web content writer of Get Basic Idea