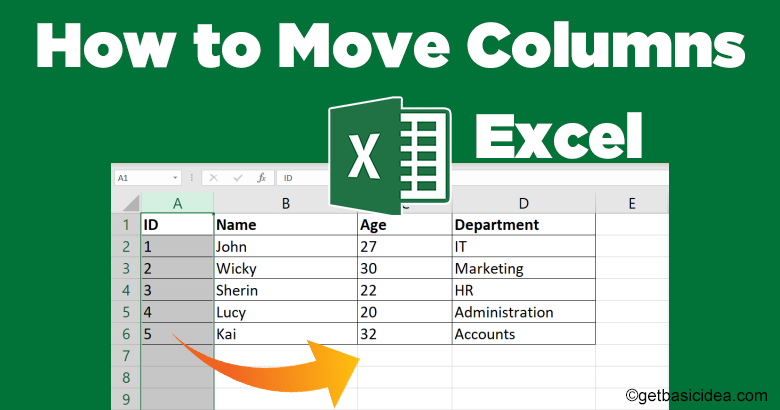
How to move columns in Excel is a common question asked by Excel users. In this user guide, you will be able to learn how to do it in a few simple steps.
Method 1 – Using the Shift key and Left mouse button
- Select the column you suppose to move from the table.
[g_article_ads]
- Move your cursor to the edge of the column and a four arrow icon will appear.
- Press and hold the Shift key.
- Press and hold the left mouse button.
- Drag and move the column to the place you suppose to move the column.
- Release the Left mouse button when you see a bold line on the edge of the column where you suppose to shift the column.
- Finally, release the Shift key.
Method 2 – Cut and Insert
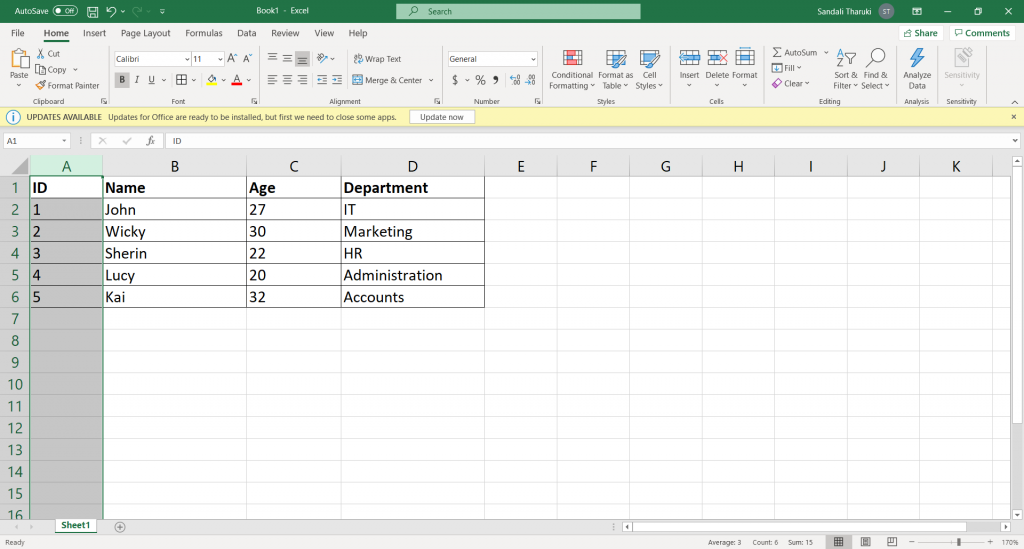
- Select the column.
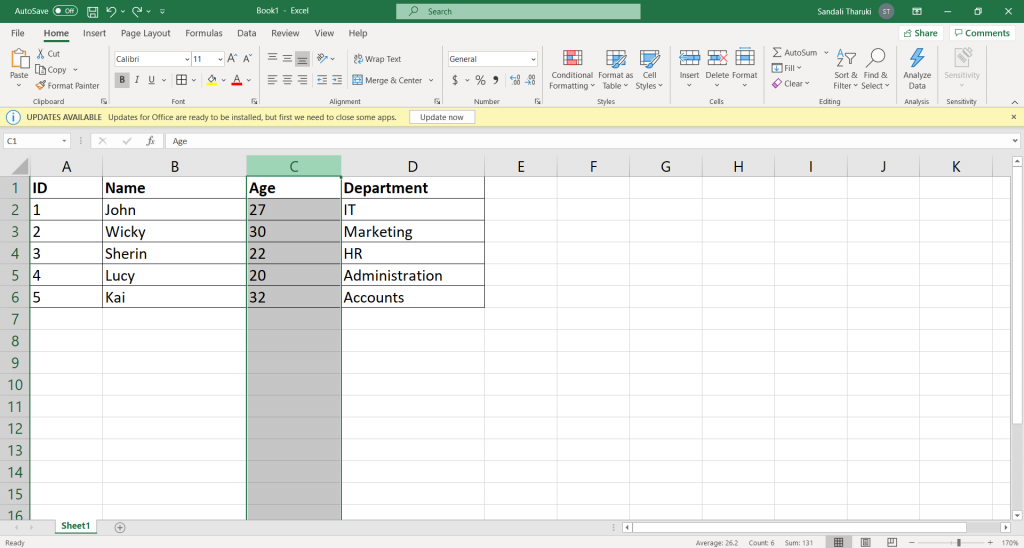
- Right-click and select Cut.
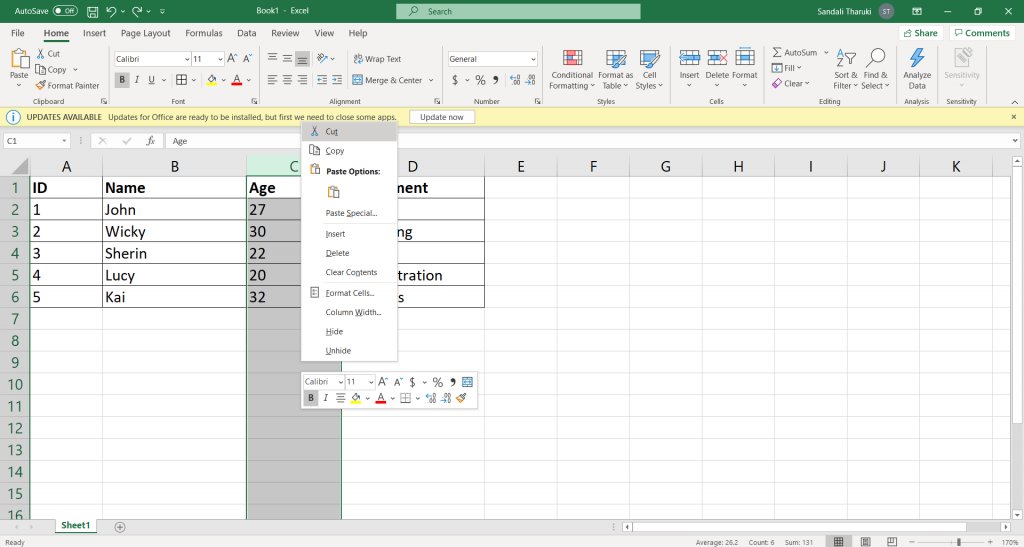
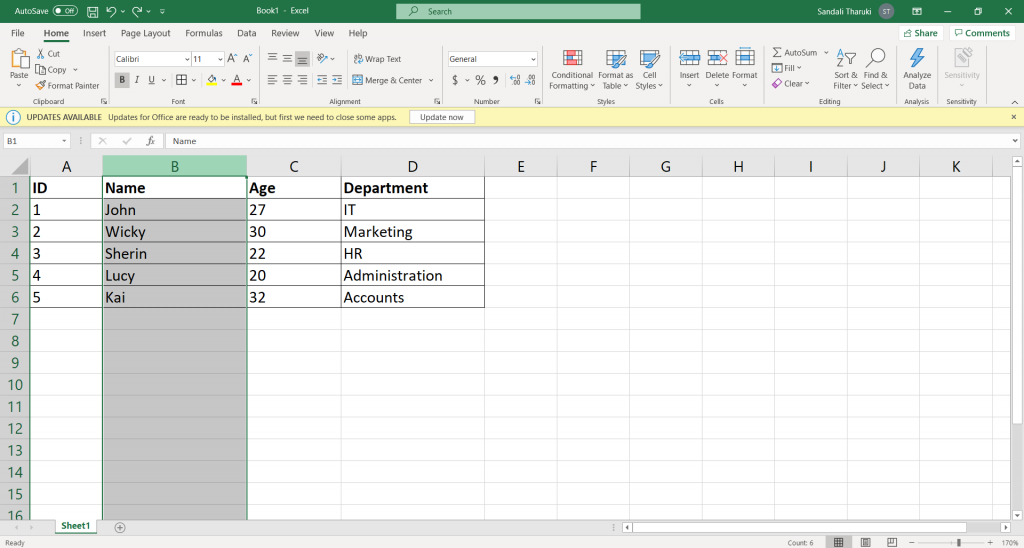
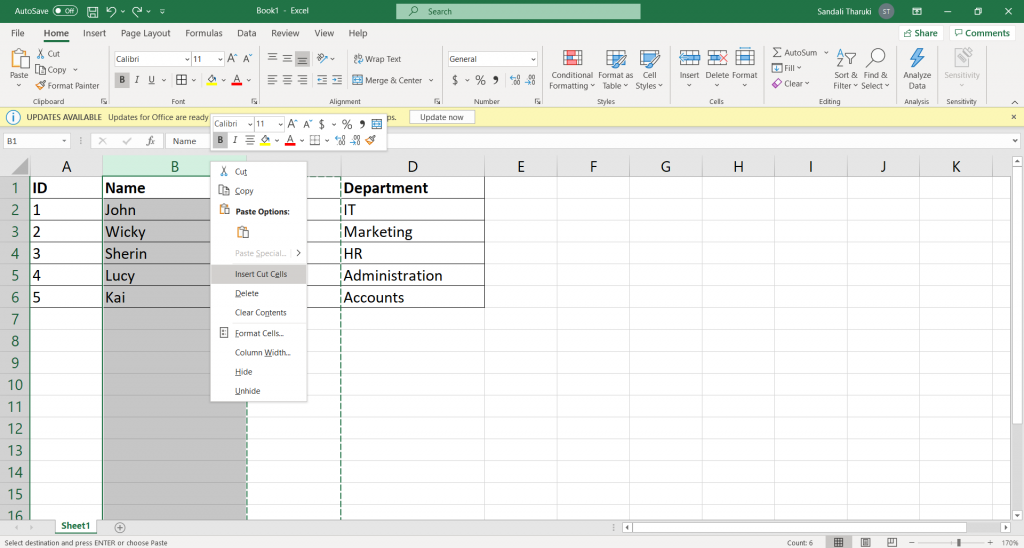
- Select the column where you suppose to move the column. ( The column will be moved before the selected column )
- Right-click and select Insert Cut Cells.
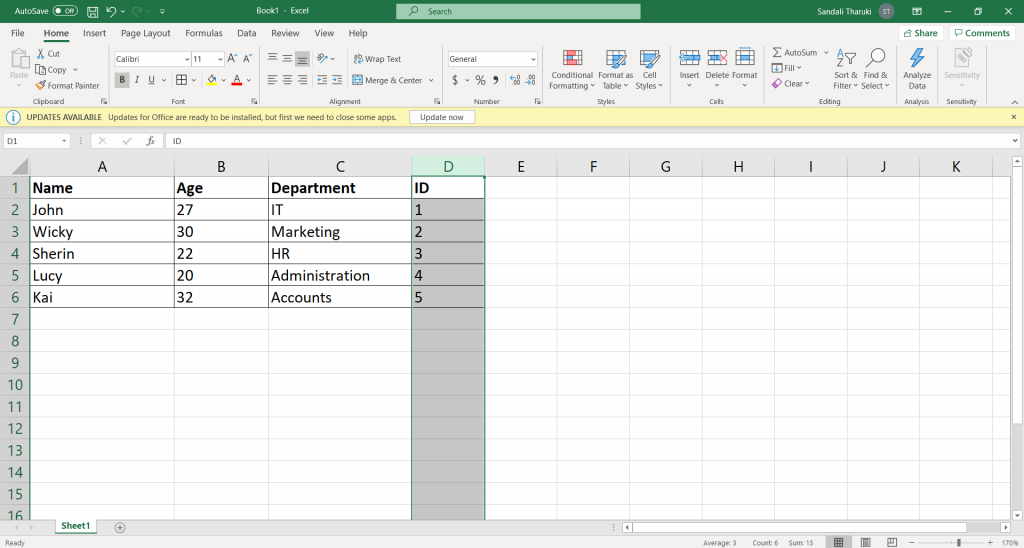
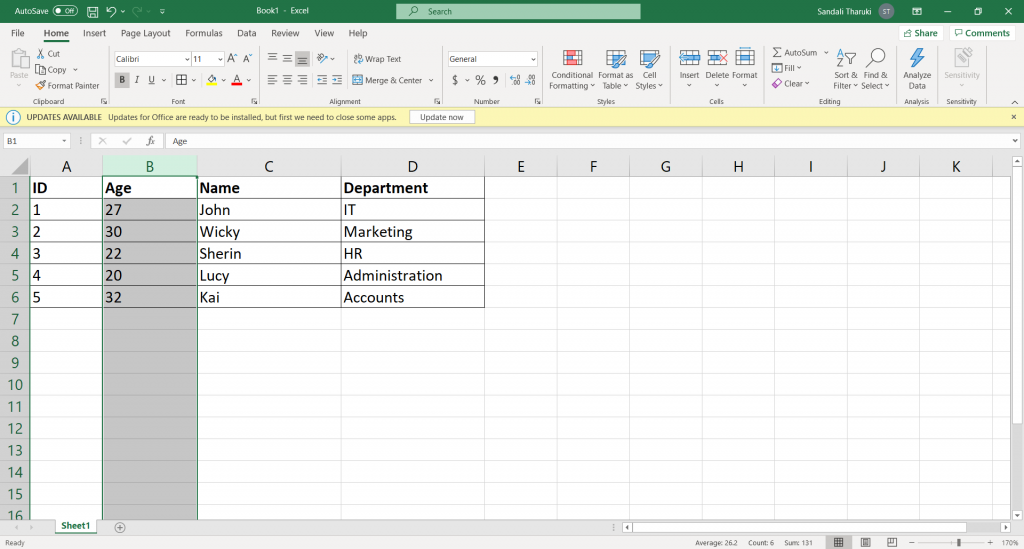
- Finally, the Age column will move before the Name column.
Method 3 – Sort method to move columns in Excel
[g_article_ads]
This method is more suitable to move columns in Excel for a table that has many columns.
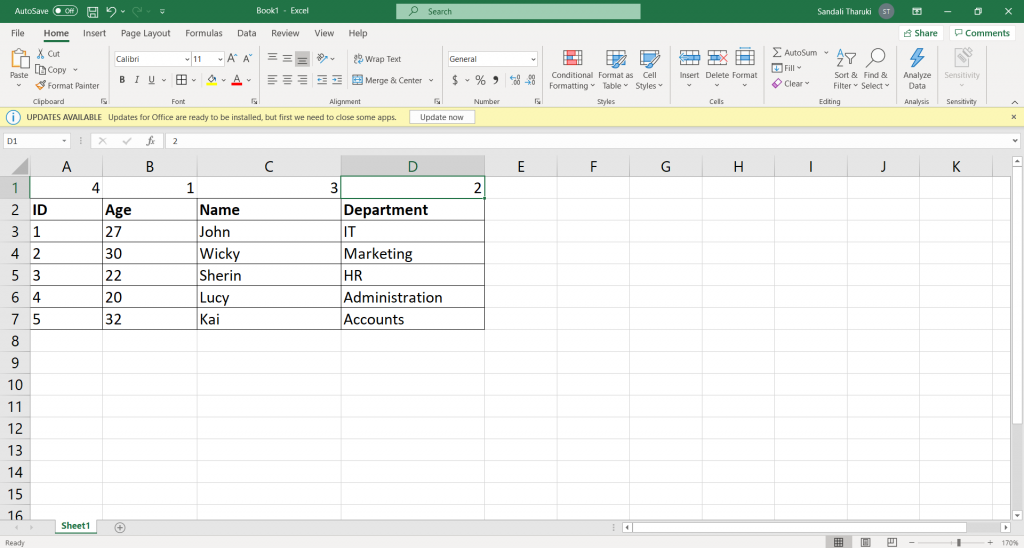
- Add a new row before the first row of the table.
- Number the columns as the order after you move the column you suppose to move.
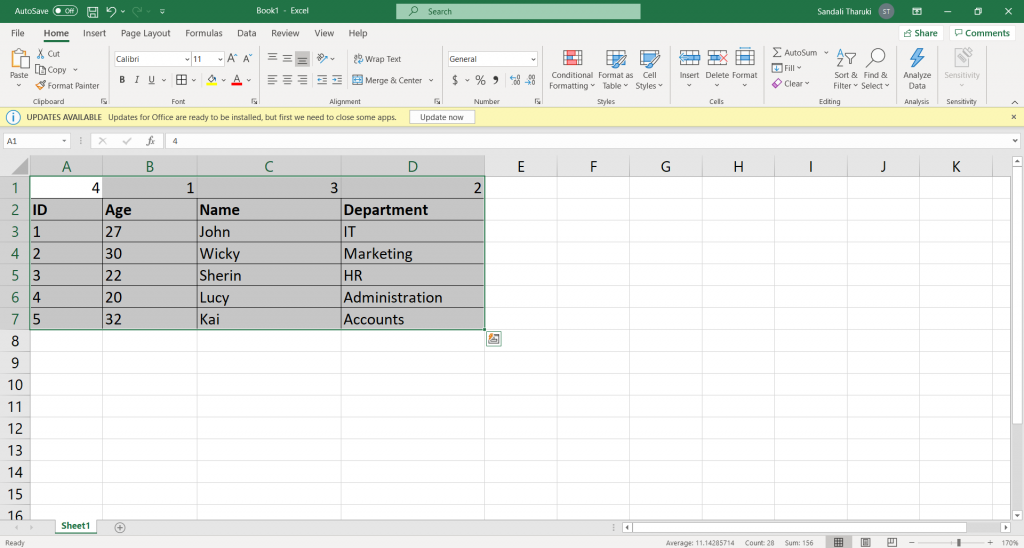
- Select all the content of the table.
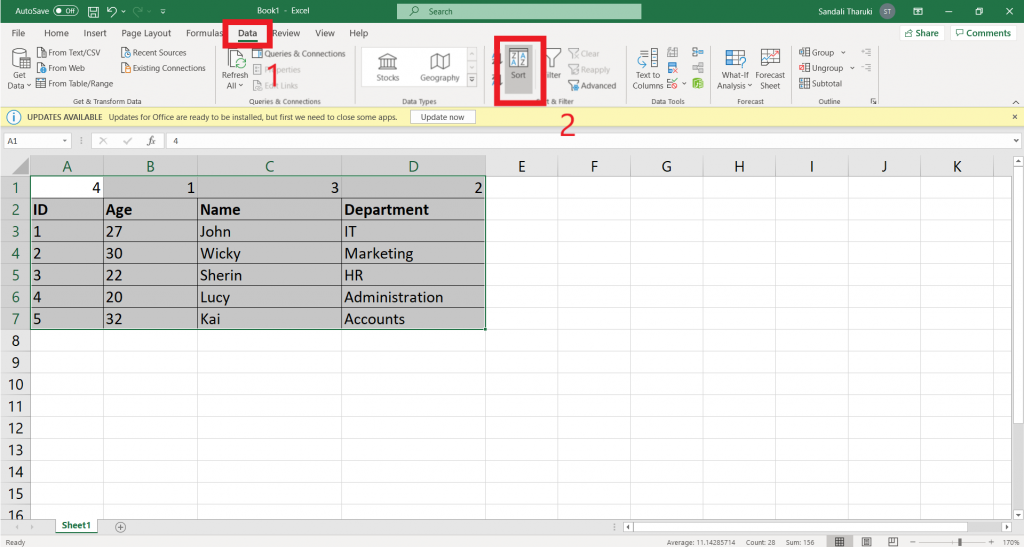
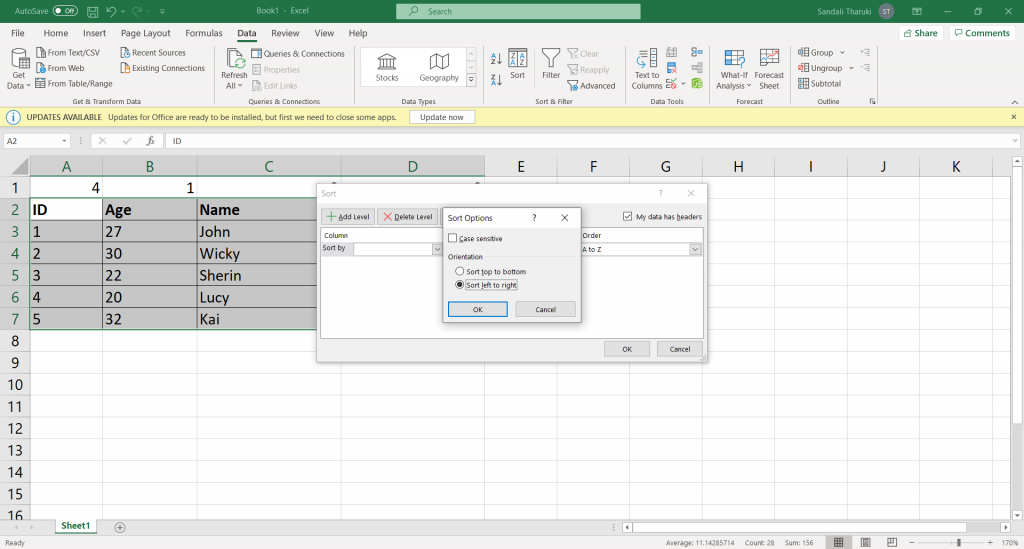
- Visit the Data tab in the Menu and click on Sort.
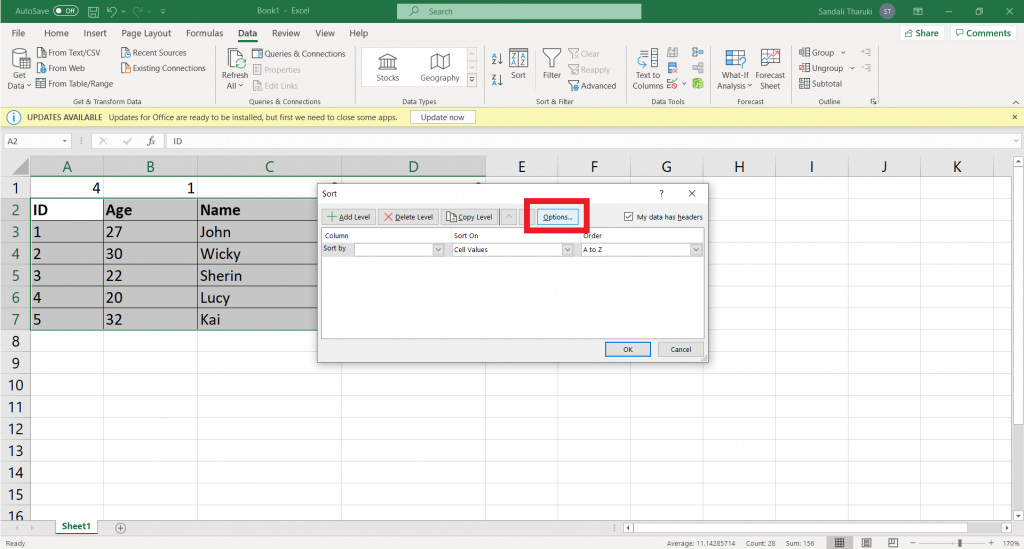
- Click Options on the dialogue box that pops up. Then select Sort left to right and click OK.
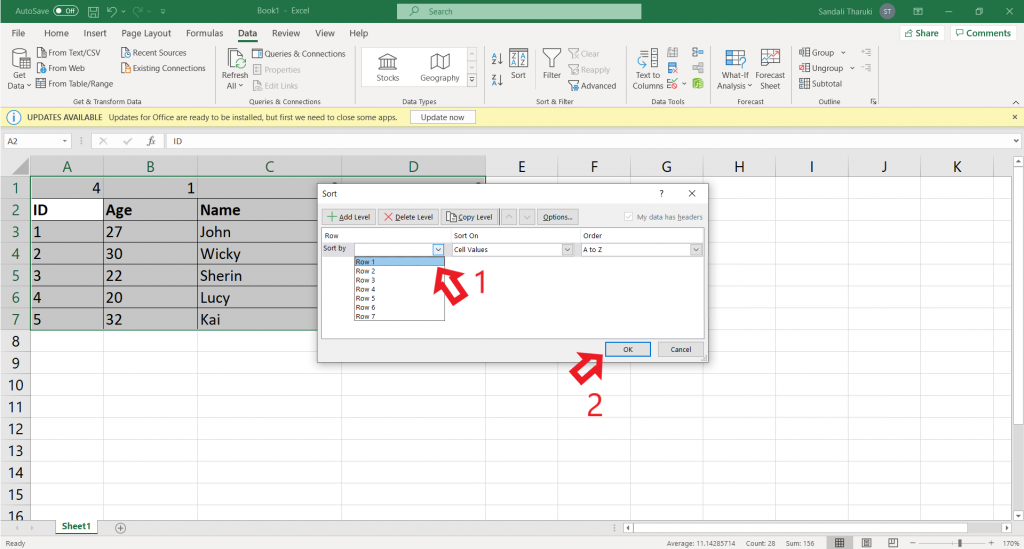
- Select Row 1 from the Sort by drop-down menu list and click OK.
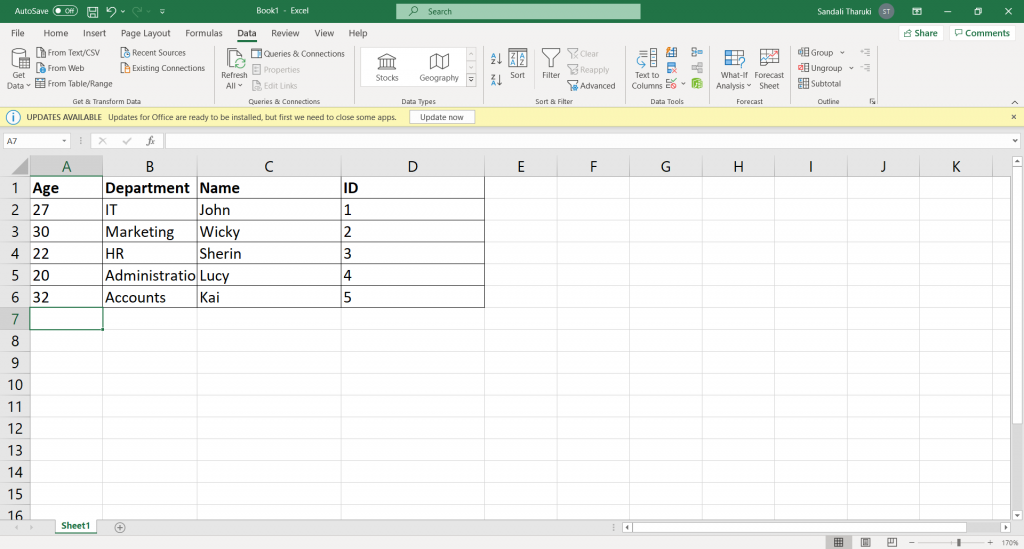
- Finally, delete Row 1.
Visit and read the previous tutorial to learn about How to split cells in Excel.
Author of Get Basic Idea / Second year IT undergraduate.