What is Bank Reconciliation?
Comparing the difference between system bank balance and bank statement balance. The reconciling process will help to identify whether accounting treatments are required. Reconciled bank accounts ensure that records are error-free. Microsoft Dynamics Navision making it easier when you doing Bank reconciliation. Will look at it how to do bank reconciliation in Microsoft Dynamics Navision.
How to reconcile Bank Statement with Bank Ledger Entries?
- Login to Navision.
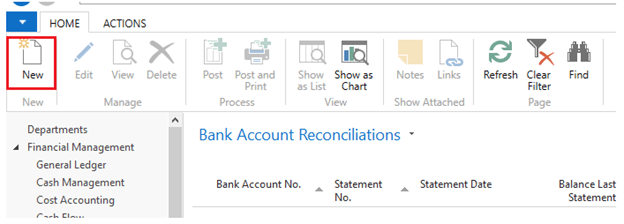
- Type "Bank Account Reconciliation" in the search bar.
- Click the suggested link.
- Click "New" to create Bank Account Reconciliation in the system.
Mandatory fields should be updated before doing reconciliation.
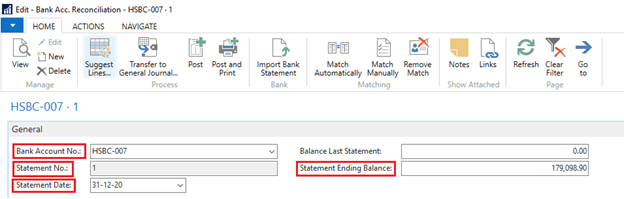
- Select the relevant bank account in the "Bank Account No" field.
- If you haven't done bank reconciliation earlier for the selected bank, update "Statement no" as "1" in the field.
- Update statement date which is mentioned in the bank statement that you've received.
- Update balance of the statement in the "Statement Ending Balance" field.
[g_article_ads]
Now you could see open bank ledger entries are filtered in the "Bank Account Ledger Entries" pane.

- Click "Suggest Bank Account Reconciliation Lines" in the ribbon.
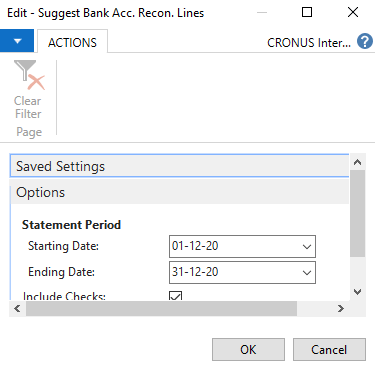
- Update the starting date of the statement in the "Starting Date" field.
- Update ending date of the statement in the "Ending Date" field.
- "Tick on" includes the checks option. If the tick is off, the system will not suggest check ledger entries to the bank reconciliation page.
- Click "Ok".
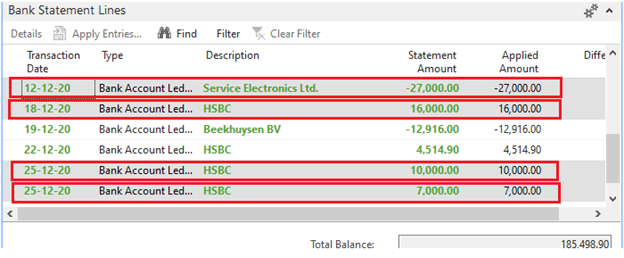
Now you could see suggested bank ledger lines in the "Bank Statement Lines" pane.
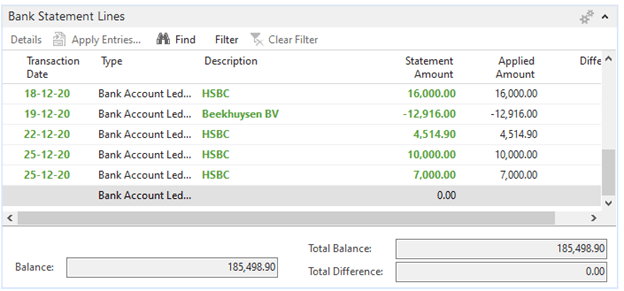
You can delete the lines which are not reflected in your bank statement.
- To "Delete" the lines in the "Bank Statement Lines" pane,
- Select the lines that you going to delete in the "Bank Statement Lines" pane.
- Click "Ctrl + Del".
- Click "Yes" delete the lines.
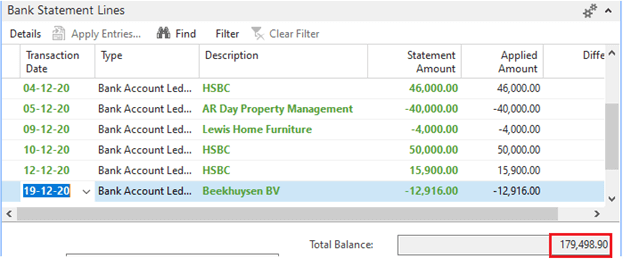
You could see that balance has been changed after deleting lines.
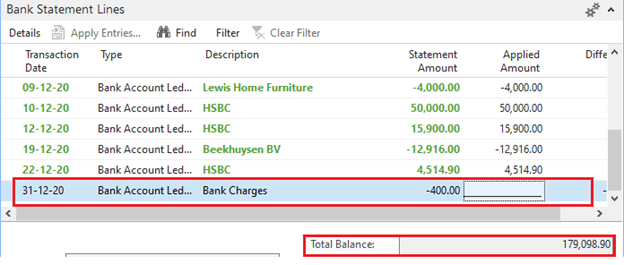
Also, you could "add" lines in the "Bank Statement Lines" pane. The entries which bank statement contains but you have missed recording in Navision.
[g_article_ads]
- Update date in the "Transaction Date" field.
- Update the transaction detail in the "Description" field.
- Update the value of the transaction in the "Statement Amount" field.
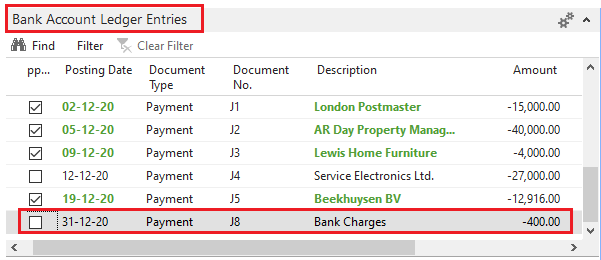
- Click the "Transfer to General Journal" option in the ribbon to make an entry in the bank ledger.
- Select the relevant "General Journal Template" and "General Journal Batch" to update missing entries.
- Click "Post" to the post journal line and refresh bank reconciliation. Now you might be seen a new entry will fall under the "Bank Account Ledger Entries" pane.
- You could use the "Match Automatically" or "Match Manually" option in the ribbon to match lines between bank statement and bank account ledger entries.
Make sure that, you have a "0" difference between bank statement and bank ledger entries.
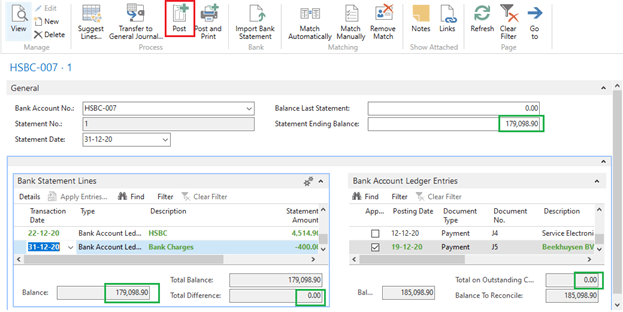
- Click "Post" to post bank reconciliation.
How to view reconciled bank reconciliation in Microsoft Dynamics Navision?
- Type "Bank Accounts" in the search bar.
- Click the suggested link.
- Click "Edit" to open a relevant bank account card.
- Click "Statements" in the ribbon.
You could see the statement which is posted in Bank Reconciliation.
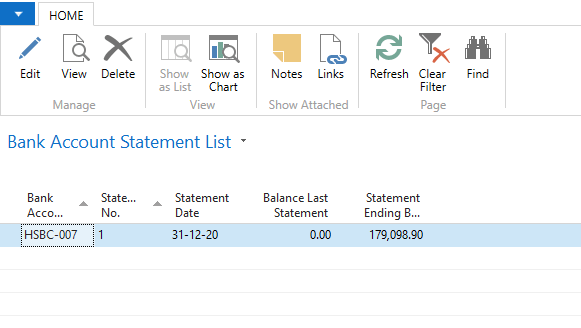
- Click "View" to view the posted bank statement.
Image references took from Dynamics Navision 2018.
Author of Get Basic Idea – Knowledge Base / Business Analyst – Dynamics NAV.