
Nvidia is a brand that needs no second introduction to gaming geeks. It is one of the best graphic card brands in the world. Of course, it should not be forgotten that AMD Radeon is also a highly popular brand. Nvidia is often known to deliver stellar performance but the drivers can be troublesome as issues stem up from time to time. There are instances where the Nvidia drivers create so many problems that eventually force you to uninstall it.
There are 2 ways to uninstall the Nvidia drivers. One way is through the conventional method which is to remove the drivers through the inbuilt applications within your PC or through the inbuilt Nvidia application itself. The second way is to uninstall it through external third-party software.
Standard methods to uninstall the Nvidia drivers
[g_article_ads]
There are three standard methods to get rid of the Nvidia drivers. These methods are: uninstalling via the control panel, uninstalling through the Device Manager, and uninstalling through the Nvidia app itself.
Uninstalling the Nvidia drivers via the Control Panel
1. Click the Start button and type Control Panel in the search bar located next to the Start.
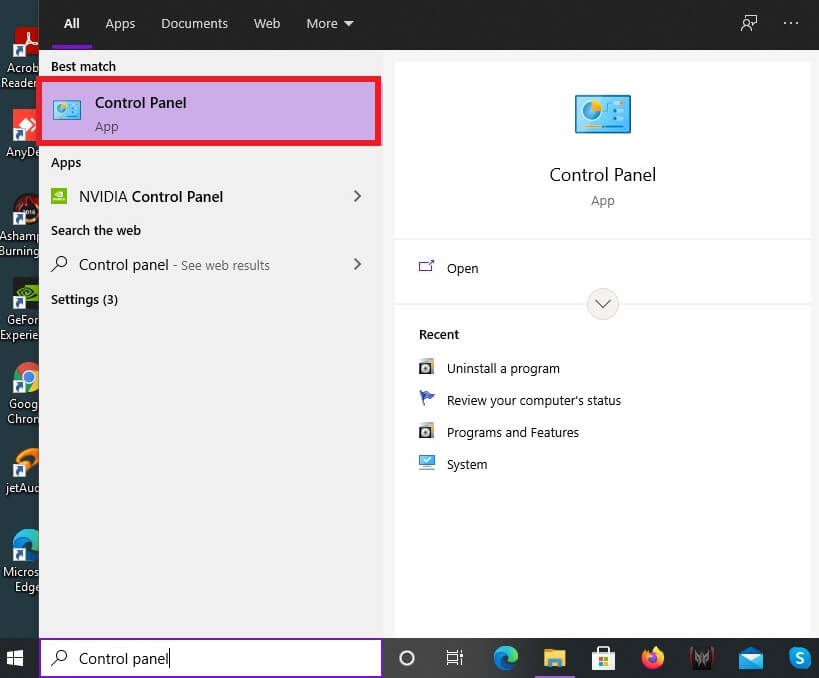
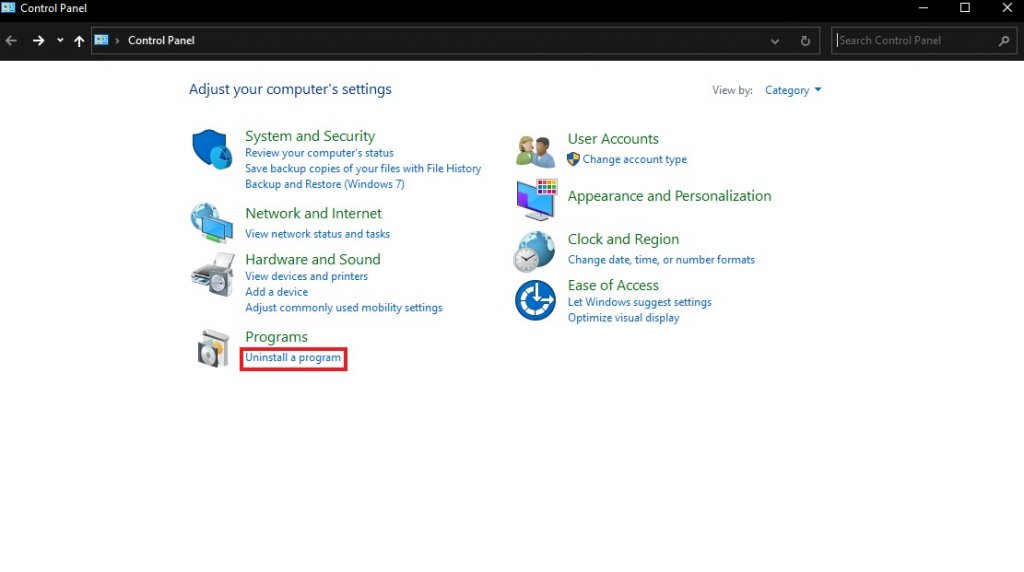
2. Click on the Control Panel then you will be lead to a window. After the window appears then click on the Uninstall a program located under Programs.
3. Upon clicking Uninstall a program you will be lead to another window that will show you a list of applications. Instead of enlarging your eyes to search for the drivers, you can type Nvidia in the search bar located in the top right-hand corner. This will locate the drivers for you within a blink of an eye.
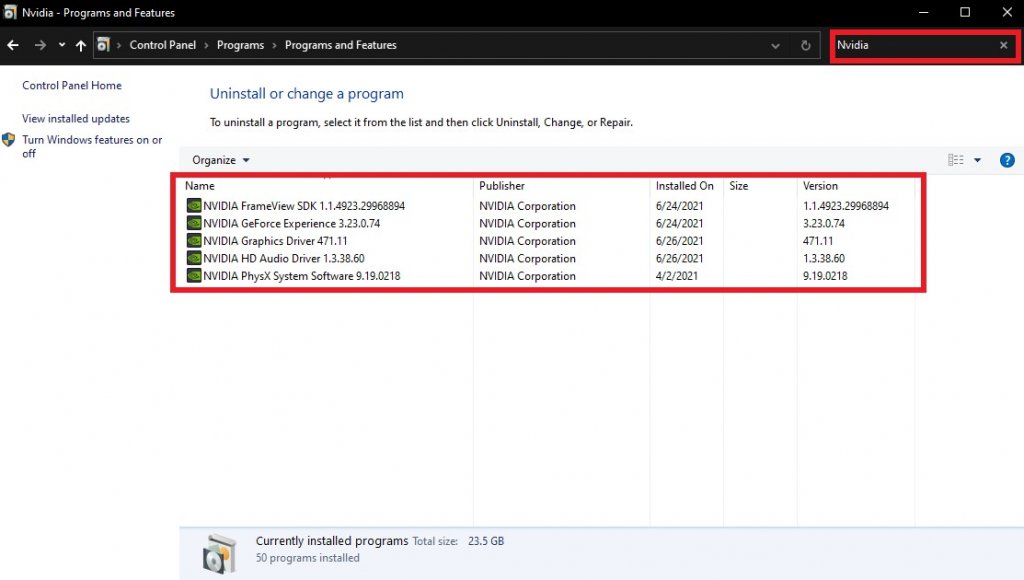
4. You can choose any one of the above Nvidia drivers which you wish to uninstall and then proceed with the uninstallation.
Uninstalling the Nvidia drivers via the Device Manager
[g_article_ads]
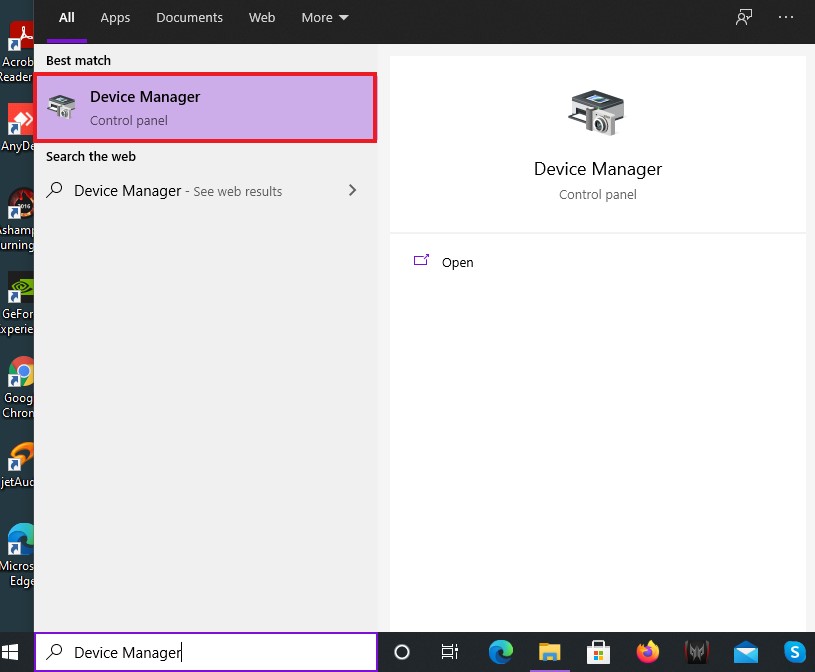
1.Click the Start button and type Device Manager.
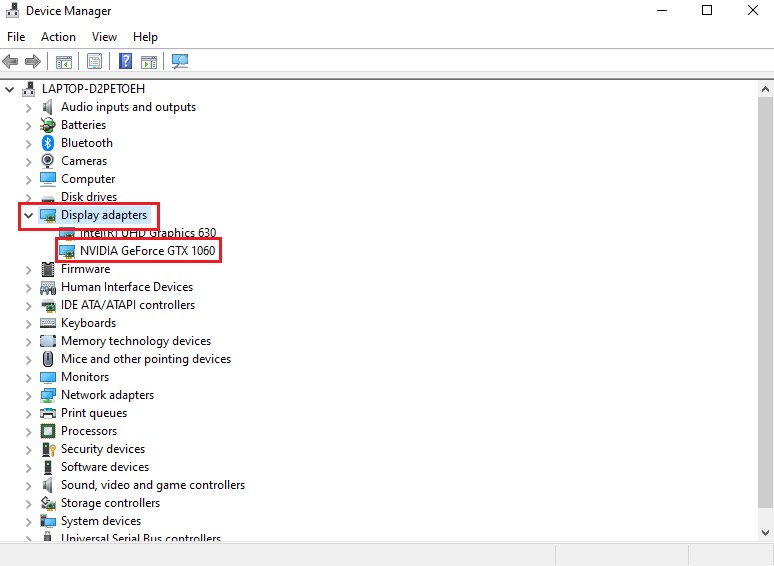
2. Click on the Device Manager then you will be lead to a window. After the window appears then click on the Display adapters which will display few components under it. Out of those components, one of them will have the name of your graphics card and that is the component that you need to click on.
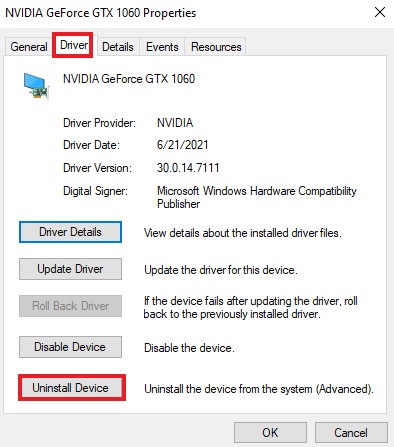
3. Upon clicking the component that has the name of your graphics card you will be lead into a window. In this window, there will be few tabs and out of those tabs you need to click on the Driver tab. In that tab, there will be an option named Uninstall Device that needs to be clicked.
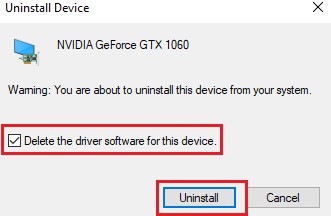
4. After clicking Uninstall Device another window will appear as a final confirmation to uninstall the driver. In that window, you need to tick a certain checkbox that goes as Delete the driver software for this device, and after ticking it click the Uninstall button.
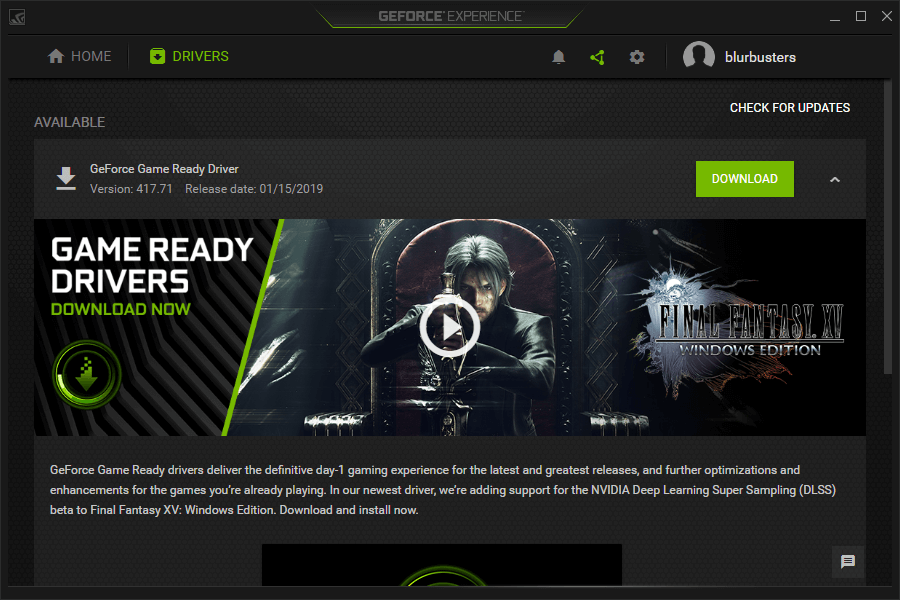
Uninstalling the Nvidia drivers via the Nvidia app itself
This method of uninstalling is one of the most basic and easiest ways that does not require much explanation. Other methods of uninstallation were explained because it is slightly advanced than this method.
Display Driver Uninstaller
[g_article_ads]
What is Display Driver Uninstaller (DDU)?
Display Driver Uninstaller (DDU) is a free third-party application that is capable of completely removing your graphics card drivers from your PC.
What does DDU do?
We already know that DDU completely wipes out your graphics card drivers from your pc along with files included in it. And, what is more awesome is that DDU gets rid of the installation drivers and registry entries that the drivers leave behind.
There are times where the graphics card drivers cannot be uninstalled at all because of a certain error in Windows 10 and at these times DDU comes in handy.
Sometimes you may worry if the currently installed drivers are causing any havoc on your system, and the best way you can deal with it is through this tool.
Few key things to keep in mind about DDU
There is no doubt that DDU is a powerful remover tool, however, it would be recommended that you create a System Restore Point before you start using it. The reason why you need to create it is that accidentally if anything goes wrong while uninstalling the drivers then the System Restore Point will restore your PC to its previous state.
DDU is not only limited to removing Nvidia drivers, it can remove AMD and Intel drivers as well.
What is a System Restore Point?
System Restore Point is an inbuilt recovery feature in Windows that helps to restore your PC to its previous state. With System Restore Windows files and settings, system files, any installed programs /app and drivers will revert to their former state. You got nothing to worry about because System Restore will bring your PC to a working condition.
There is one thing that you need to bear in mind about this recovery feature, which is that it won't have any impact on your files like your documents, picture, etc. What this means is that you can't restore files that you removed recently.
To use System Restore you need to have a restore point in place. Restore points can be created manually at any time but anyways your PC will create them automatically when installing new software, driver, or system update.
How can you create a System Restore Point in Windows 10?
[g_article_ads]
Creating a System Restore Point isn't much difficult as you thought. With few simple steps, you can easily create a System Restore Point.
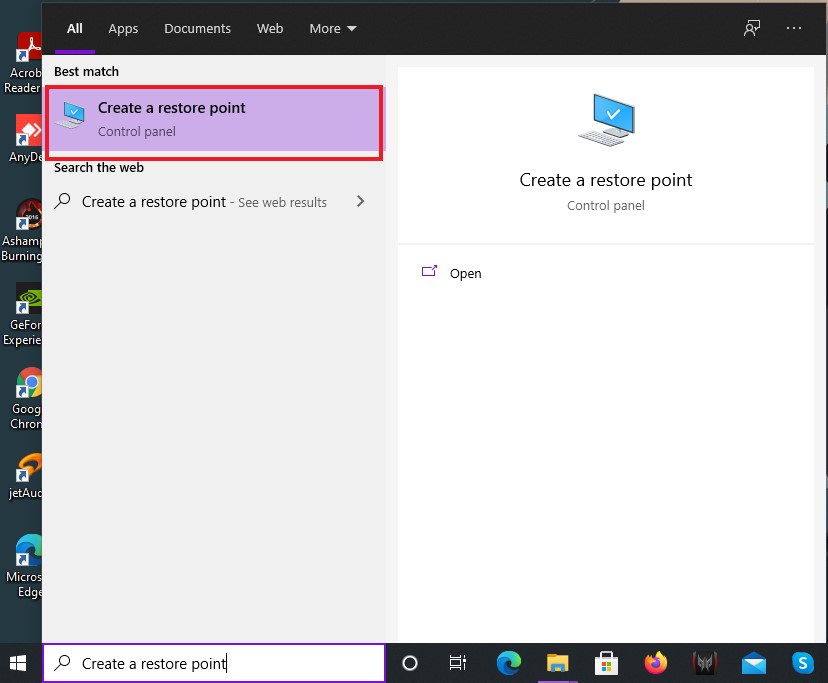
1. Press Start and search for Create a restore point.
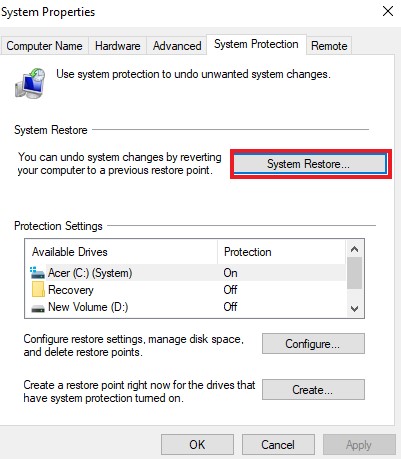
2. Click on Create a restore point then a window will appear. In that window, you need to click on the System Protection tab and afterward click System Restore
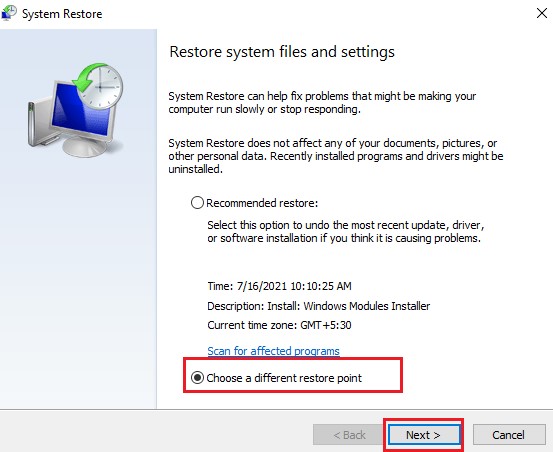
3. Clicking System Restore will lead to another window and then click on Choose a different restore point. Afterward, click Next.
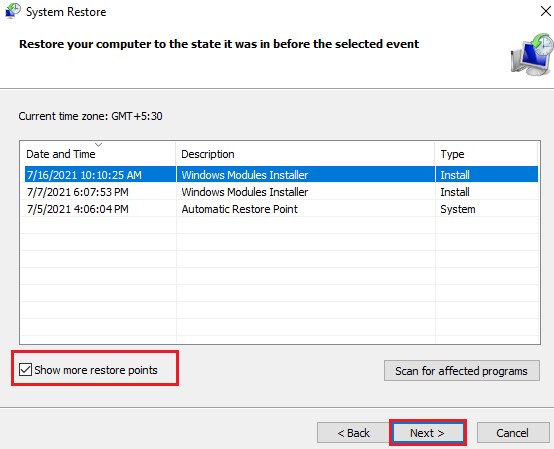
4. After clicking Next then you will be lead to another different window. Tick Show more restore points, which then will reveal the other restore points that have been automatically created by your PC. Choose the restore point which you want and then click Next.
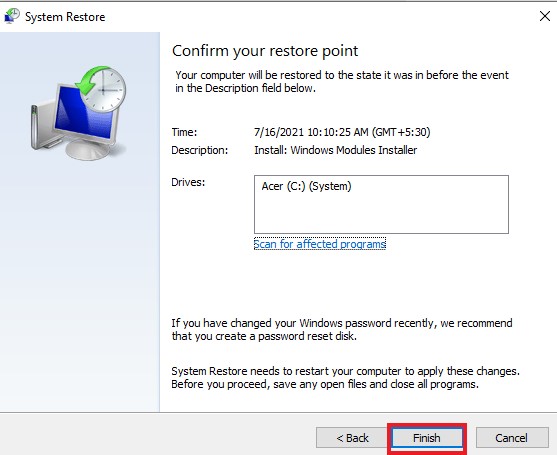
5. In the next window all you have to do is click Finish which then completes the whole process of creating a System Restore Point. Your PC will restart to apply the changes. Therefore, you need to save any open files and close any programs.
[g_article_ads]
This method of creating a System Restore only shows you restore points that have been automatically created by your PC which can be used to restore your PC to its previous state, whereas, you can manually create restore points as well. The majority of the steps involved in creating restore points manually will remain the same as the above steps except for a few.
1. Repeat step 1.
2. Repeat step 2 but this time click Create instead of System Restore.

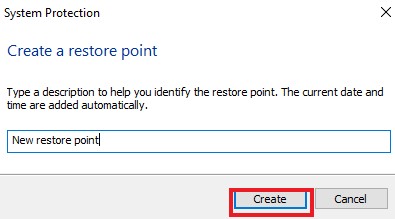
3. Upon clicking Create a new window will pop up. In this window, you need to name your restore point (you can put any name you want), and after that click Create.
4. Repeat steps 3,4 and 5.
How to uninstall graphics card drivers using DDU
[g_article_ads]
1. Download the latest version of DDU (V18.0.4.2)
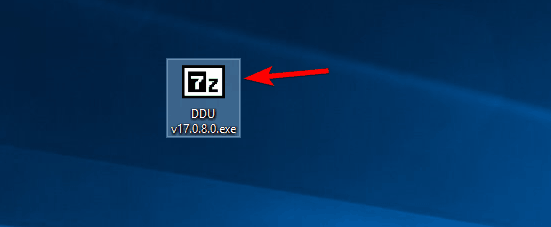
2. DDU will be downloaded as a 7zip archive. You need to locate where it has been downloaded and then double click on it.
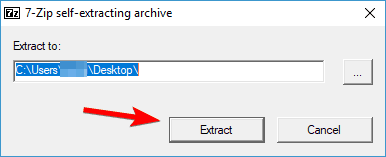
3. Upon double-clicking the DDU file you will be asked to extract it. Choose the desired extract location and then click Extract.
4. After the extraction is completed then double click the DDU icon to start it.
5. When you are running DDU you will receive a warning message stating that it is recommended to run this tool in Safe Mode. You can boot to Safe Mode by choosing the Safe Mode option from the Launch option menu.
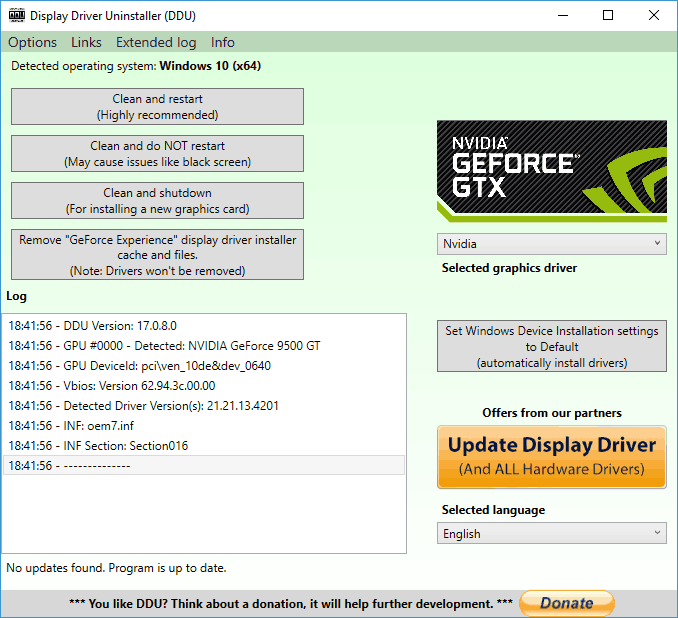
- Upon selecting Safe Mode click the Reboot button. However, if you want you can run this application without using the Safe Mode by choosing the Normal option from the Launch option menu. When DDU opens the log will brief you with the information regarding your graphics card. You are given the option to choose your graphics card driver from the menu but in most cases, it is not necessary as DDU automatically chooses your graphic card driver.
6. You will see 3 buttons available on the left side. If you are installing a new driver for your graphics card then you need to select the Clean and restart button. If you are installing a new graphics card then you need to select the Clean and shutdown button to remove the driver and turn off the PC. Also, there is an alternative option to clean the driver without a system restart but this option can sometimes be problematic as it can cause few minor issues
7. After you selected the desired option you will have to wait until DDU removes the driver from your PC.
Removing Nvidia drivers from Safe Mode
Sometimes you might not be able to access Safe Mode from DDU. if you come across such a situation then you don't need to worry, all you have to do is follow these simple steps to access Safe Mode.
Note: Remember this is not an alternative way of uninstalling drivers instead it is an extension of DDU installation which is used only if DDU is unable to access Safe Mode.
[g_article_ads]
Click the Start button and then hold the Shift key button. While holding the Shift key button select the Restart button.

2. When your PC restarts select Troubleshoot.
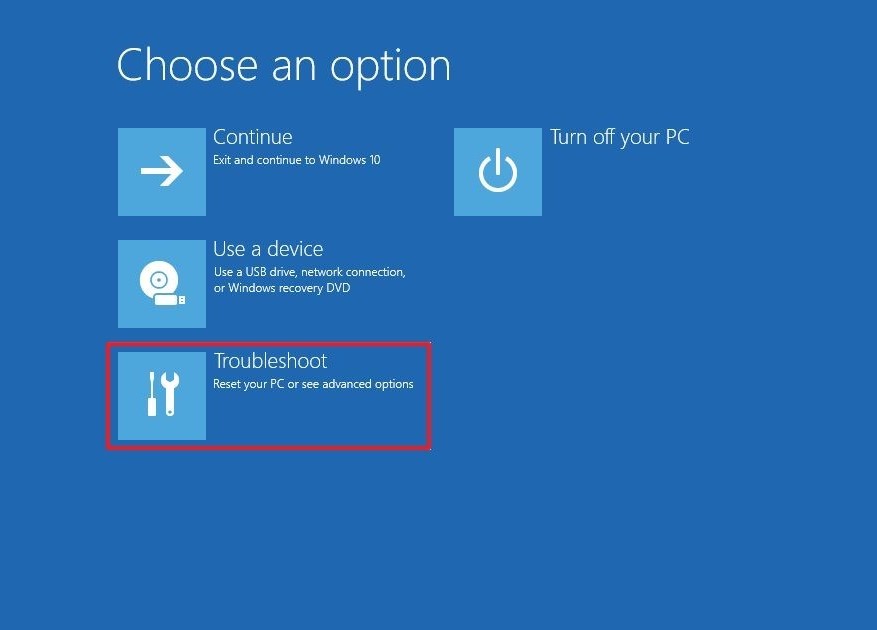
3. Then select Advanced options.

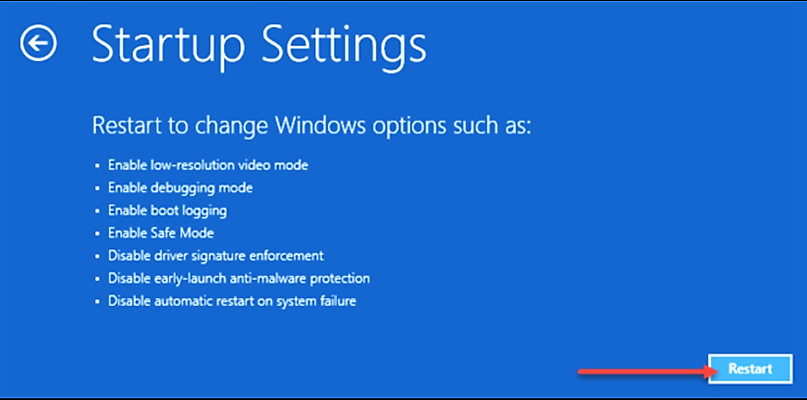
4. Upon clicking Advanced options you will be lead to a window and in there you need to click the Startup Settings feature and then you need to click Restart.
5. Once when your system restarts you will be provided with a list of options. You can choose any mode of Safe Mode by pressing the appropriate number on your keyboard.
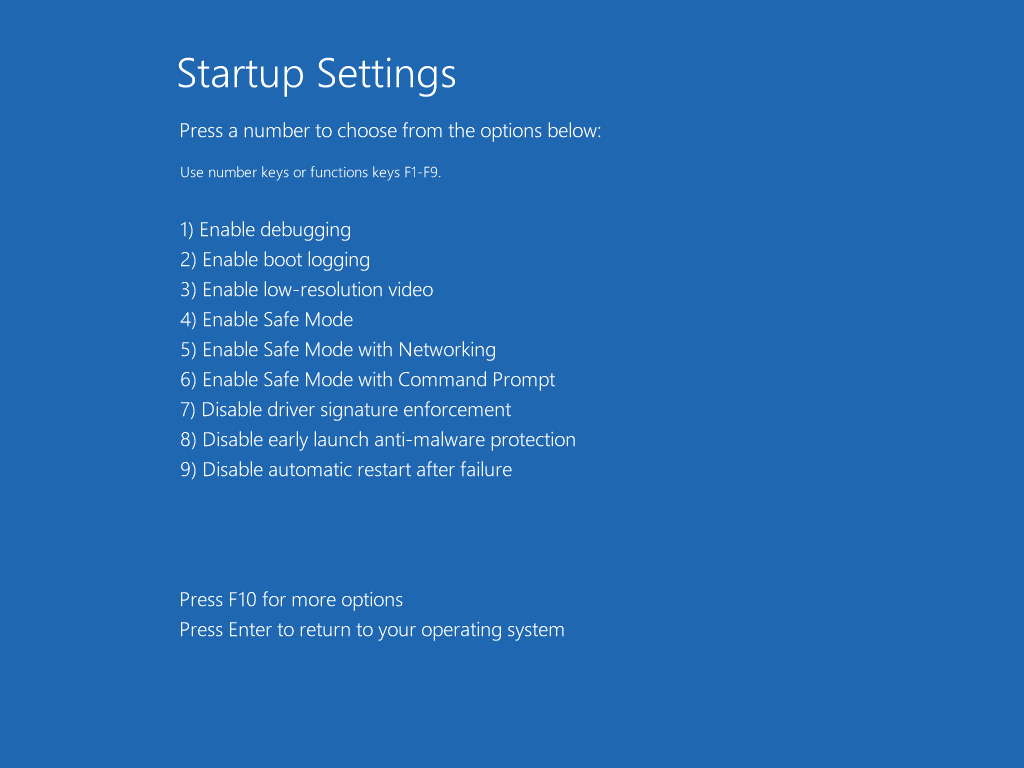
6. After you pick an option Safe Mode will start. Once when it starts run DDU and follow the instructions mentioned under the subtopic of 'How to uninstall graphics card drivers using DDU' to delete your drivers once and for all.
Visit the previous guide about, how to turn off auto sleep in Windows 10.
Author of Get Basic Idea (A content writer & a digital marketer, develop content while formulating and executing feasible digital marketing strategies collectively).