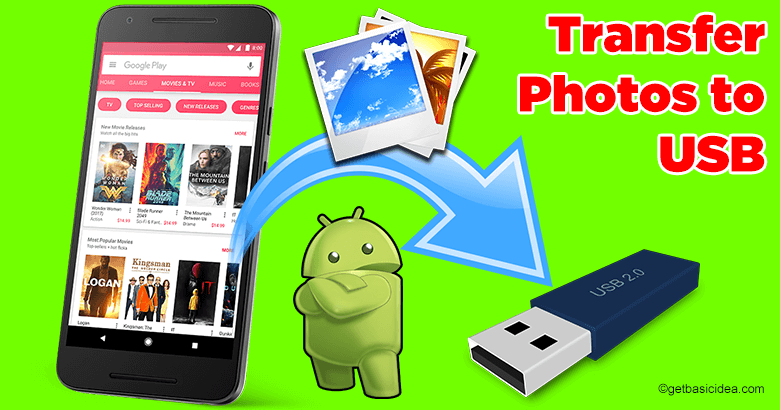
Transfer photos from Android phone to USB flash drive sounds complicated. Here are a few ways you could do that effortlessly.
Transferring photos with Android Backup Software
Using Android Backup Software allows direct transfer of photos from the Android phone to the flash drive and supports kinds of image formats, such as JEPG, WEBP, PNG, and more. Allowing you to preview Android photos on the interface before performing a transfer, it also supports taking snapshots of your Android screen on the computer. It will help you manage your photos with multiple features, like creating/deleting albums, and moving/copying photos while supporting to transfer of text messages, contacts, videos, music, apps, and more from Android to the computer.
Additionally, this software has excellent compatibility with Android devices, including
- Samsung Galaxy S20/S10/S9/S8
- Google Pixel 4a/4 XL/4/3a XL/3a/3
- OPPO A91/A52/A31/A9
- OnePlus Nord/8 Pro/8T/8/7T Pro/7T/7 Pro/7/6T
- Motorola
- Huawei
- Sony
- LG
- HTC
- Vivo
Here's how you do it!
- Download and install the program.
- Connect Android and Flash Drive to PC. You can insert the USB drive into the PC and link the Android phone with a USB cable. For a successful connection, please enable the USB debugging mode on the phone.
- Once connected, please click the "Super Toolkit" tab and the "Backup" option.
- Then select the "Photos" category on the pop-up window.
- Choose your flash drive as the backup location.
- Next, tap on the "Back Up" icon to begin transferring all the photos. The photos will appear on your USB drive after finished.
How to transfer photos from Android Phone to a Flash Drive – via a USB OTG Cable Adaptor
If you are thinking of connecting your Android phone straight to the flash drive, you're gonna need a USB OTG cable adaptor. It is a USB Type-C male to USB Type-A female adaptor. Here's how you do it!
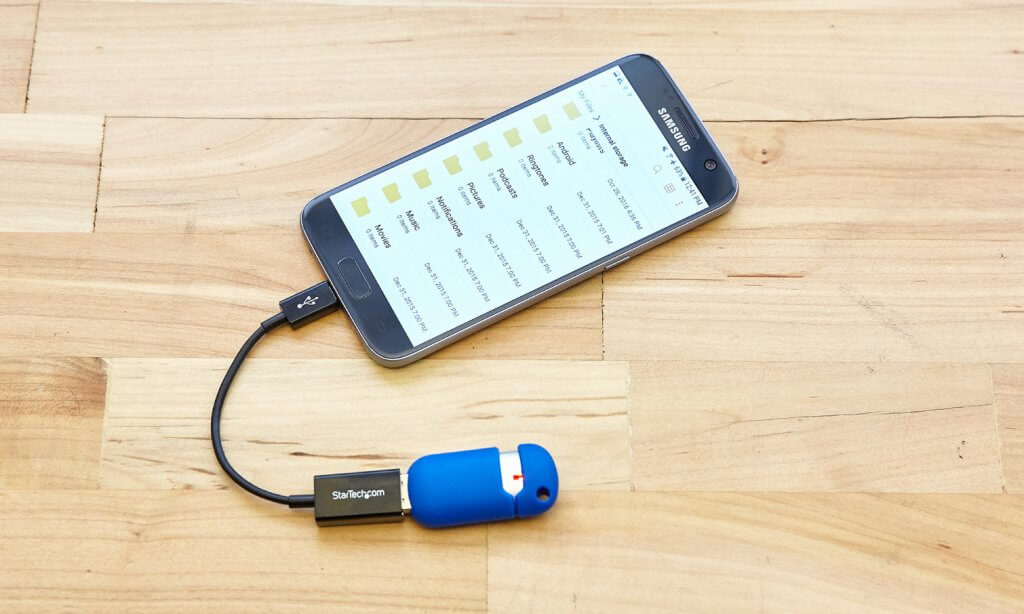
- Connect flash drive to Android.
- Copy photos from Android. To select and copy the Android photos, please go to the file manager on your Android phone and navigate to the folder of photos. Then long press a photo to select what you want, and tap on the "Copy" icon.
- Paste selected pictures to Flash Drive. Enter your flash drive on the phone and make a new folder on it to paste the pictures. When the transferring process is done, please safely remove your flash drive.
Transferring photos from an Android phone to a USB – via a Computer
This method is slower than the first two but can do with a USB cable and a computer.
- Connect your phone and the computer with a USB cable and select the "MTP" option on your phone.
- Then plug your USB flash drive into the same computer. The computer will detect it in a short time.
- Double-click the "This PC" icon and enter your Android phone to find the images you want.
- Then open your flash drive. At present, you can move the pictures to the flash drive via drag and drop. If you select lots of images, it will need more time to complete.
Visit the previous guide about how to turn on NFC on Android.
Landscape Architect | Author of Get Basic Idea.