
Minecraft is a fun game that can run on various platforms like, Android, Microsoft Windows, PlayStation 4, iOS, macOS, etc. It looks like a pretty simple game, but actually, a lot is going on in its background. When you do changes to the, you will experience some circumstances happen due to not having enough RAM on your device. Such circumstances include shuttering, crashes, and other issues, and then the game will become almost unplayable. In such cases, users need to allocate more RAM to Minecraft.
How much RAM will Minecraft need?
[g_article_ads]
According to the minimum requirements given on the Minecraft website at least, you need to have 4GB RAM to play Minecraft on your computer. If you are using a mobile at least 2GB RAM will be needed. But you won't be able to do many things with 2GB RAM. If your mobile device is having 4GB or 6GB RAM, it will be perfect if you are planning to work with lots of mods.
Heavily moderated games of newer versions of Minecraft will require 6GB or above to run.
Now let's see what can we do to allocate more RAM on your PC for Minecraft. Before going for the methods, you have to check your RAM.
Checking RAM
Checking your RAM is a pretty easy task that you won't be even needing a guide to it.
- Go to the Settings of your PC.
- Then Click About in System Settings.
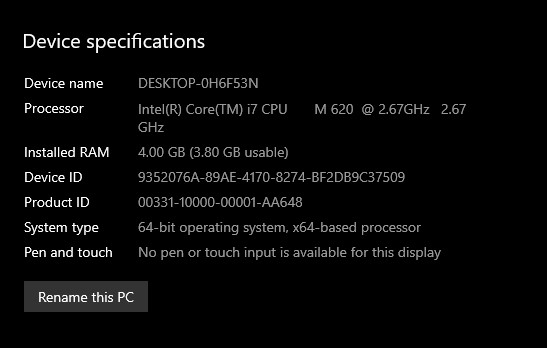
- Go to the Device specifications.
- After that, look for Installed RAM.
When you go to the specific location, you will find how much RAM you have to spare. In the below example, the usable RAM is 3.80 GB.
Methods of allocating more RAM to Minecraft
There are a vast amount of methods that can be used to allocate RAM. This article will guide you will them step-by-step.
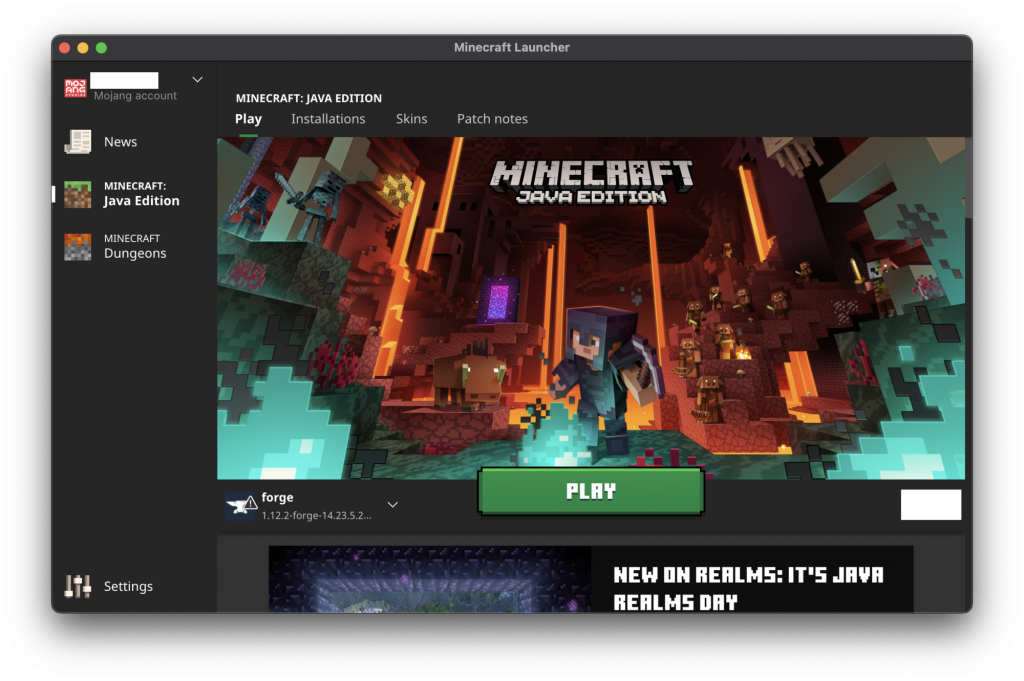
Default Minecraft Launcher
[g_article_ads]
- Step 1: Launch Default Minecraft Launcher.
- Step 2: Go to the Installation tab. This will show releases a list. If you did not set any specific versions, you could see only one option, which is the most recent version. However, on the right side of the box should be three white dots.
- Step 3: Click on the three dots and select Edit from the list on the dropdown.
- Step 4: Select More Options and scroll down until you find the JVM argument.
- Step 5: Now change the code "-Xmx1G" to "-Xmx#G". # is the amount of RAM you would like to allocate to Minecraft in GB. So you have to assign a number to that specific location.
- Step 6: Now click Save and exit. Launch the game and you will notice an improvement.
ATLauncher
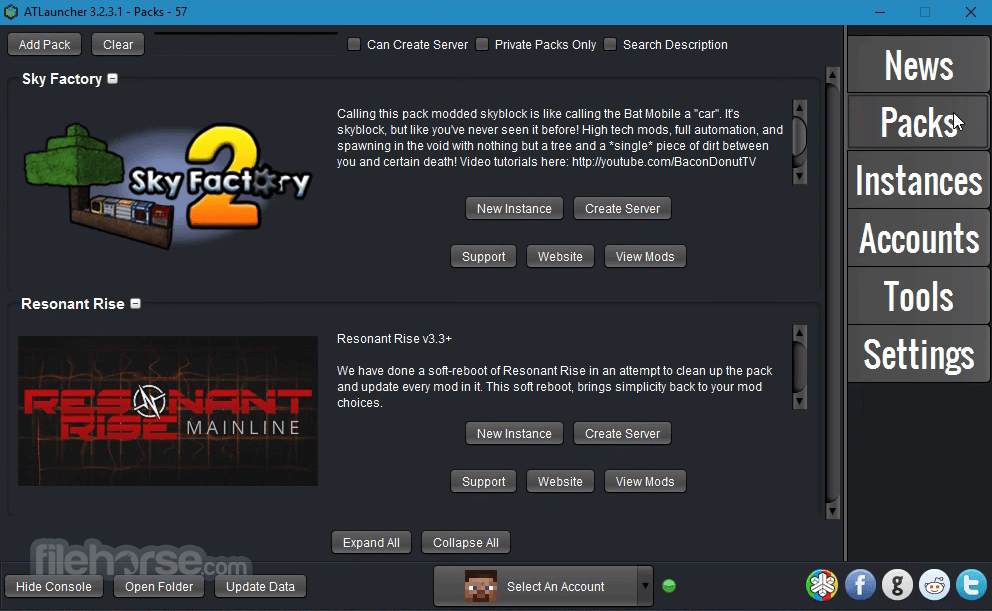
ATLauncher facilitates the distribution of RAM by removing the Minecraft Java coding element. Minecraft players who are more likely to download more mods and Sky Factory might be familiar with this launcher by now.
However, if you do not have ATLauncher on your device, download the latest version of 3.4.3.0 which was issued 11th February 2021, through the following links.
- Step 1: Launch the ATLauncher and click on the Settings tab.
- Step 2: Click on Java/Minecraft tab.
- Step 3: Now click Maximum memory/RAM.
- Step 4: Using the arrows, adjust it to your desired memory allocation, or you can just type the amount.
- Step 5: Finally, Save it and exit.
Technic Launcher
[g_article_ads]
This platform is also more like ATLauncher. So, let's go straight to the Downloads and the steps.
Once you launch the Technic Launcher, go for the Settings. Now Click the Java Settings tab and select Memory on the dropdown menu. Now you can give your desired memory allocation. Once you are done, wait for few seconds so that the Launcher autosaves the change you made. And then you can leave.
Twitch/Curse Launcher
The Twitch Launcher is another well-designed launcher to install heavy to moderate Minecraft modpacks. Download the latest version of Curse launcher from the following links.
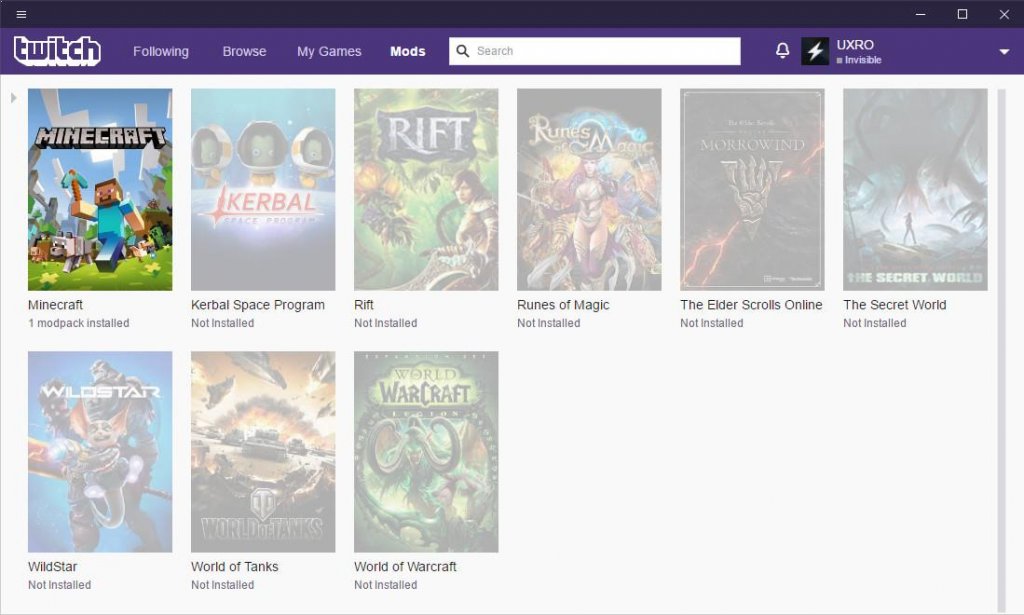
Launch the platform and click on the three lines on the top left corner of the window you will find the Files. From there you can access the Settings. On the Settings Menu, click on the Minecraft tab and go to Java Settings. Search for Allocated Memory and set your desired memory allocation. After above all, wait few seconds to autosave and exit the launcher.
[g_article_ads]
Legacy Feed The Beast (FTB) Launcher
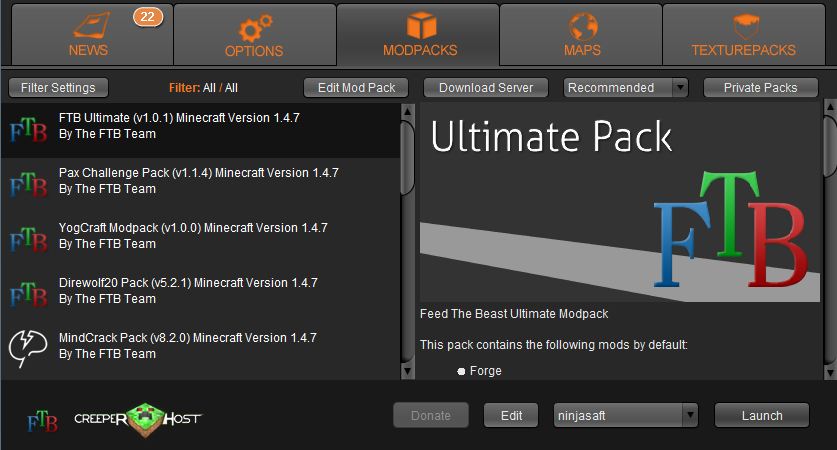
Without a doubt, this one is the simplest of above all. Once you got the FTB launcher, go to Options and then find RAM Maximum slider and set the desired allocation.
Download the FTB launcher from the following links
CurseForge Launcher
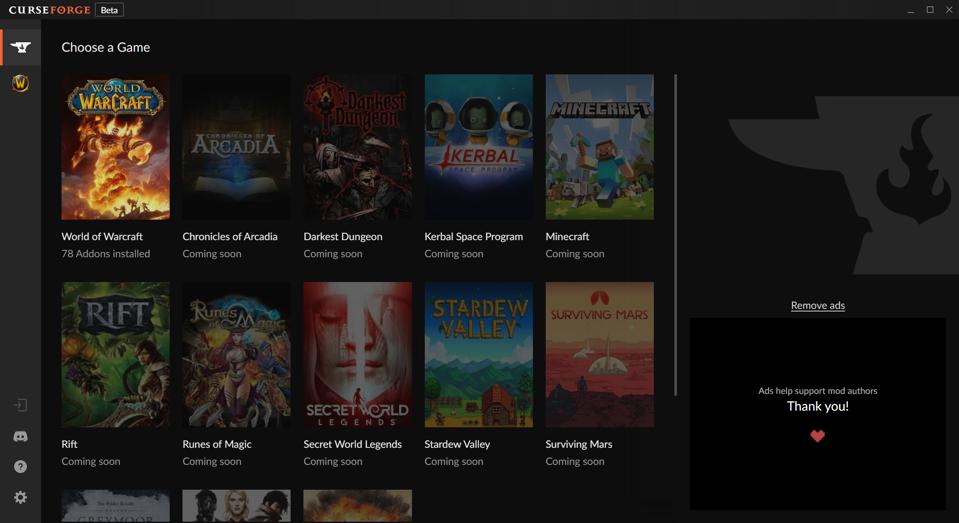
Finally, CurseForge or the OverWolf is an application that can be used for the same task. But, it can only be used for Windows and macOS users. The download links are given below.
Now open the CurseForge launcher and go to Settings. Once you get there, find Game-Specific and Minecraft. Now find Java Setting and scroll down to Allocated Memory. Adjust it to your desired memory and once it is saved you can play Minecraft with less interruption.
[g_article_ads]
How to allocate more RAM to Minecraft Server
Now, this is a special case. You can run a Minecraft server of your own. If the server has insufficient RAM, it cannot load, or support users playing on the server, and any changes you make are lagging in the game. To increase the RAM space allocated for the server go through the following steps. But remember, those steps are for Windows users.
- Open the folder of your where the Minecraft Server files are.
- Right-click any of the folder's dark spaces and choose "New" and "Text Document." The document can now be left unnamed for now.
- Open the document and paste the code given below.
java -Xmx####M -Xms####M -exe Minecraft_Server.exe -o true
PAUSE
- Remember that hashtags (#) should be filled with the amount of RAM space that you are willing to allocate for the Minecraft Server. The other thing is that you have to give the amount of space in MB.
- Now click on File and click Save As. When you save the file, remember to change the file type into All Files and save.
- Now rename the saved file in the folder to "file server launcher.bat"
- To run a new server, double-click on the .bat file.
- At this time the Minecraft server will run with a new amount of RAM.
Author of Get Basic Idea – The Knowledge Base / Bachelor of Technology – BTech, Mechatronics, Robotics, and Automation Engineering.