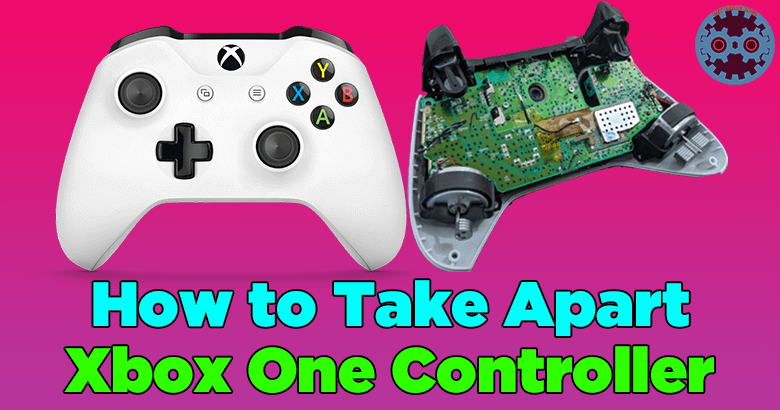
Xbox One controller is a controller that is compatible with PC and Xbox One. There might happen issues with its motors, buttons, and thumbstick. At this time you need to take apart Xbox One Controller, repair, or clean your controller and re-assemble it.
Xbox One controller is full of actions. Therefore, the regular maintenance of the controller is important. In this article, we will provide you with the steps to take apart the Controller. These steps can be basically used for Microsoft Xbox One and Xbox One S Controller. Sometimes, these steps may differ for the third-party controllers.
By taking apart the Controller you can perform several tasks.
[g_article_ads]
- Repair thumbstick
- Replace thumbstick
- Repair buttons
- Replace buttons
- Check battery connections
- Clean the Controllers
Things you need
Disassembling the Xbox One Controller is not as easy as it seems. You cannot do that using the standard tools you normally have on your house. So you need to provide yourself with the following tools.
- Torx screwdriver (T8 or T9) / Vasta screwdriver kit same size
- Plastic Prying Tools
On the other hand, you can buy Xbox One Controller Tool Kit online.
Steps to take apart Xbox One controller
First, you need to take a tray or something to keep screws and other parts of the controller. You should not miss any of them.
- Remove the batteries first.
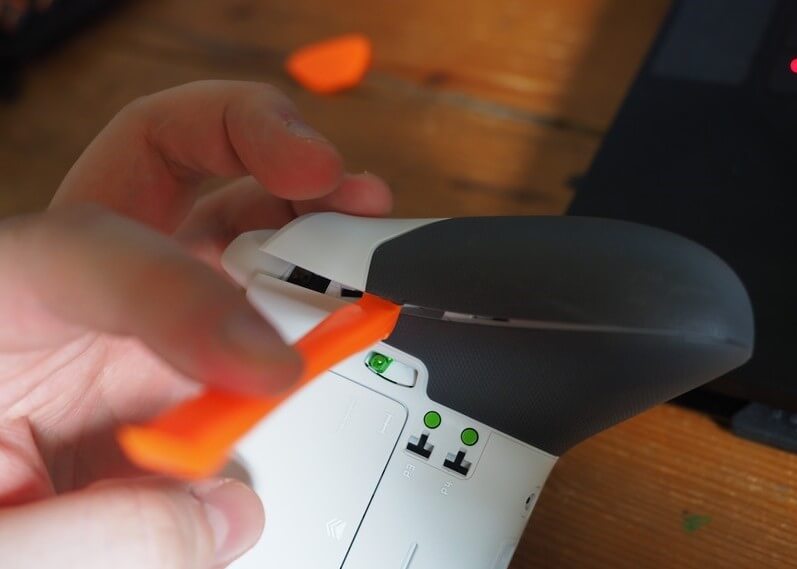
- Get the prying tool and slide it through the plastic seam on the grips.
[g_article_ads]
- Apply some force with the tool and get rid of the grip.
- There are two grips. Do the same for the other one as well.
- After that, remove each of the screws.
- Once the screws are removed the Controller will come apart. Be careful with it when you pull it apart. If you do it too hard, the cables may get damaged.
- Get the T8 screwdriver and remove the five security screws. One of the screws is hidden behind the sticker of the battery housing.
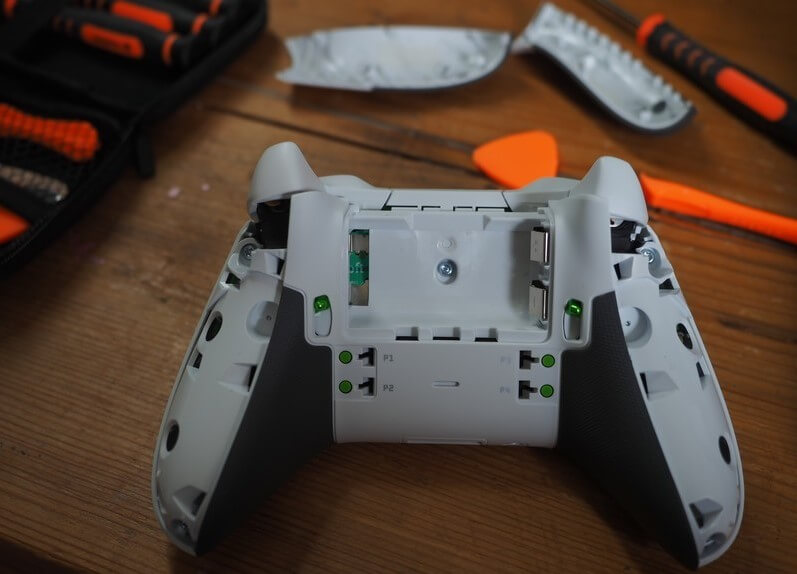
- Now lift the back panel.
- Also, you can lift it apart from the main controller now.
Right now you can replace the thumbstick, D-pad, and other buttons at this stage. Now you have taken apart the Controller. You will be seen the PCB now and further repair may need some electronic knowledge. Now let's go through some of the tasks that you can perform after disassembling the Controller.
Reasons to disassemble Xbox One controller
Clean the controller
It is highly advised that you keep your controller clean. Cleaning is crucial for a variety of reasons, including infection management and keeping the Xbox One controller buttons responsive. Microsoft recommends Isopropyl alcohol for removing dirt. Use cotton swabs to clean hard-to-reach spots. The majority of the cleaning will be done around the plastic components. Use a tiny vacuum cleaner designed for electronics to gather any small dirt that has gotten out of reach.
After you finished the cleaning and reassembled the Controller, use disinfectant wipes on it. It will help to prevent infections.
Repair and replace the thumbstick
[g_article_ads]
Once the Xbox One controller is open, you can conduct a variety of repairs. Fixing unresponsive buttons with additional cleaning and thumbstick repair are examples of this. In most situations, this problem may be resolved by soldering a short metal rod into the thumbstick and inserting it into the circuit board's analog controller.
Fully tear down the controller
In case if you want to know more about the controller, or observe the controller you can tear it apart. Keep in mind that additional dismantling will reveal electrical components. As a result, you'll need to take steps to avoid damaging your controller due to static electricity.
On the left and right sides of the controller, there are four thin cables. The rumbling motor is connected to two wires on each side. The other four connect the two PCBs. These can be de-soldered. But you'll only need to do so if you're replacing components. To remove the PCB you need to remove additional screws which attach the PCB to the controller.
Customize the Xbox One controller
Tearing down your Xbox One controller is also a wonderful opportunity to add customizations. For example, you can add LEDs to the Controller. You can also change the appearance of the Controller.
Re-assembling
Re-assembling the controller is very much easy. All you have to do is follow the above instructions from bottom to top.
Author of Get Basic Idea – The Knowledge Base / Bachelor of Technology – BTech, Mechatronics, Robotics, and Automation Engineering.